また、やっちゃった!
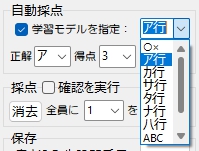
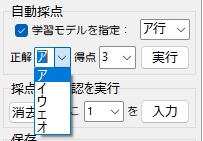
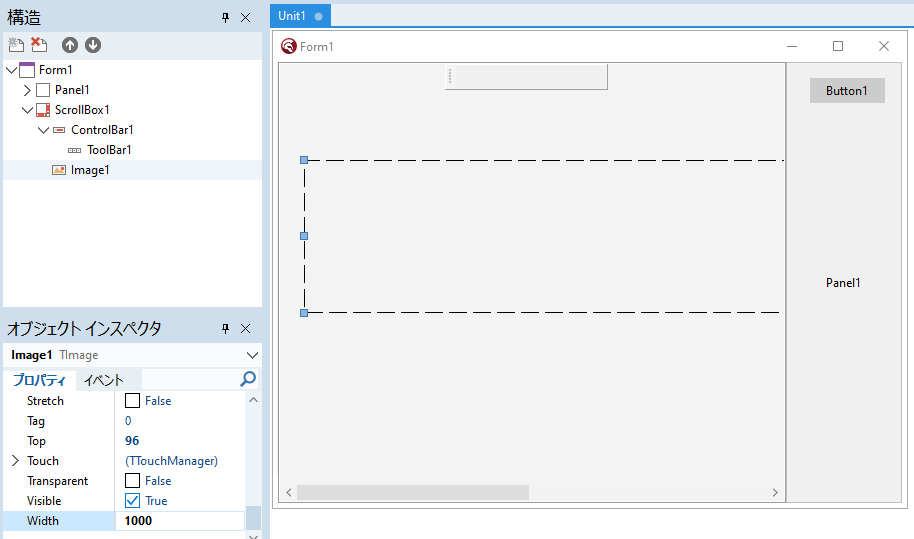
2022年が終わる頃から、およそ2ヵ月半を費やして(カタカナのア~オと、記号の〇と×限定ではあるが)手書き文字(答案)の自動採点プログラムを、GUIはDelphi・自動採点部分はPythonで作成。職場の仲間たちみんなにプレゼントしたのはいいんだけれど・・・。
なんで、なんで、いつも最後に、思ってもみなかったコトが起きるんだろー T_T
Python ・・・ きみと仲良くしたい時は、いつも・・・
【今回の記事】
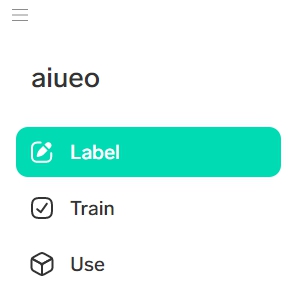
1.ついにできた!!!
2.なんで起動しない?
3.また、やっちゃった!
4.それでも動かしたい僕は・・・
5.全角文字を探し出すには?
6.まとめ
7.お願いとお断り
1.ついにできた!!!
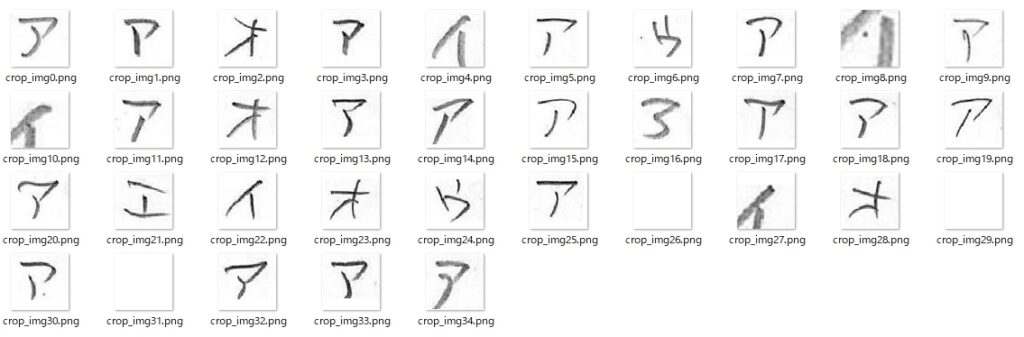
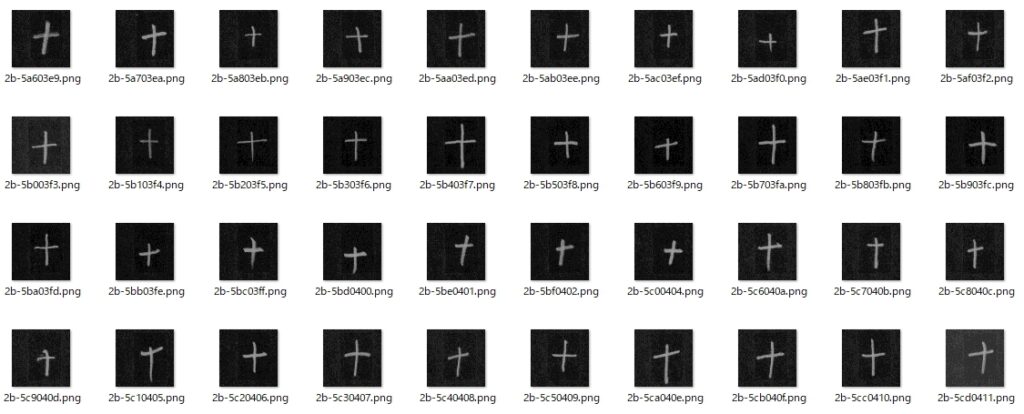
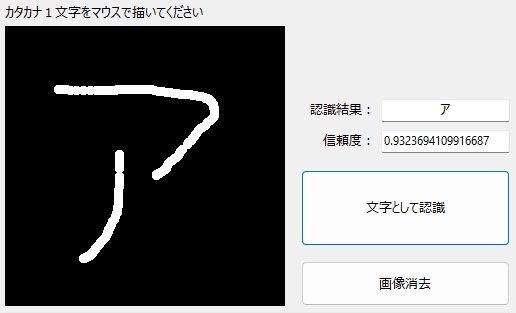
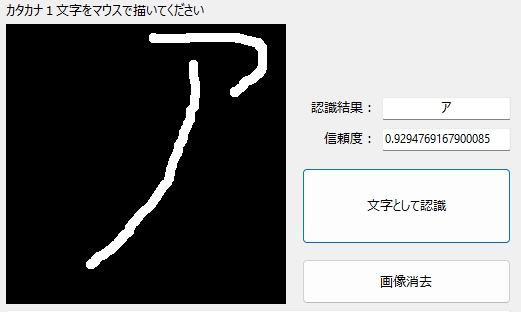
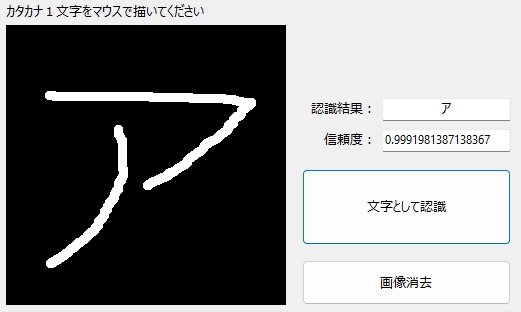
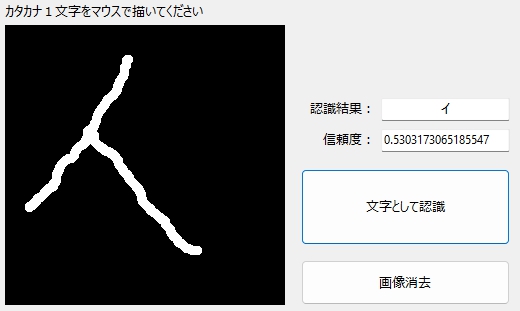
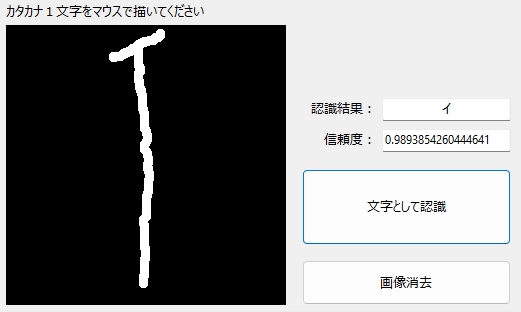
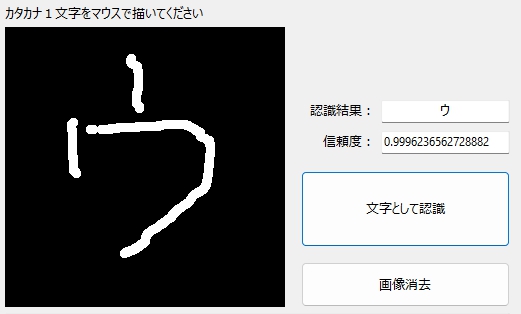
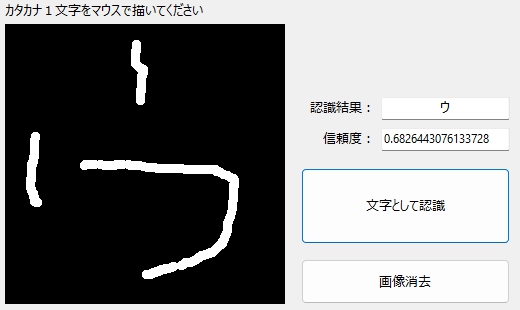
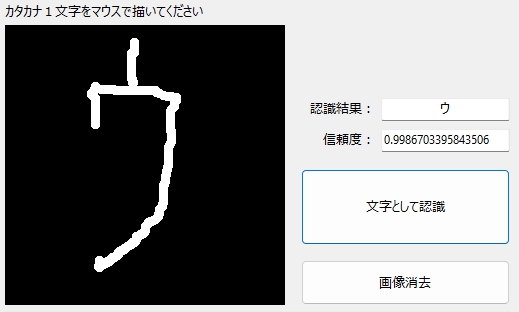
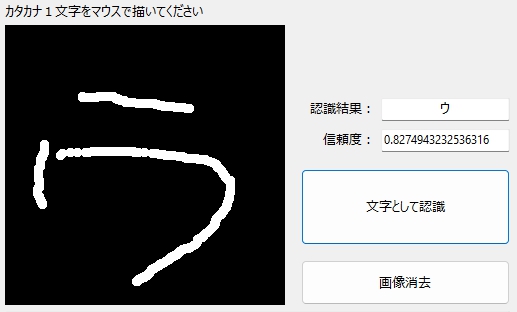
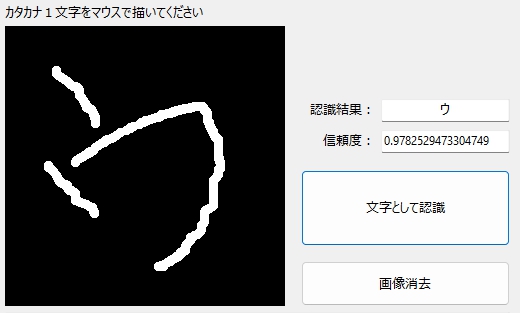
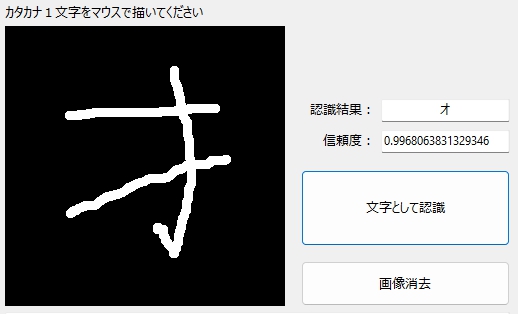
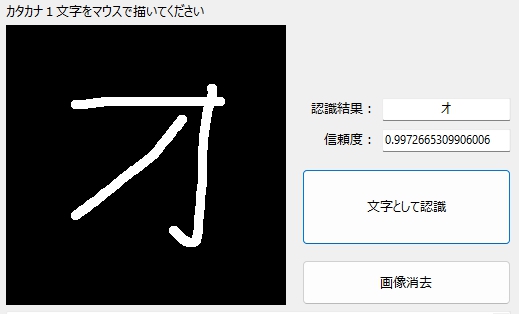
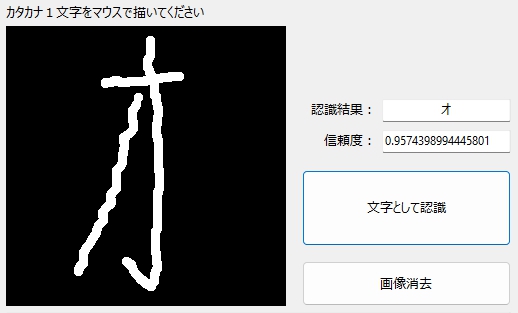
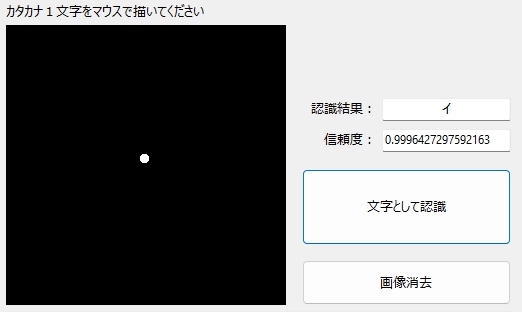
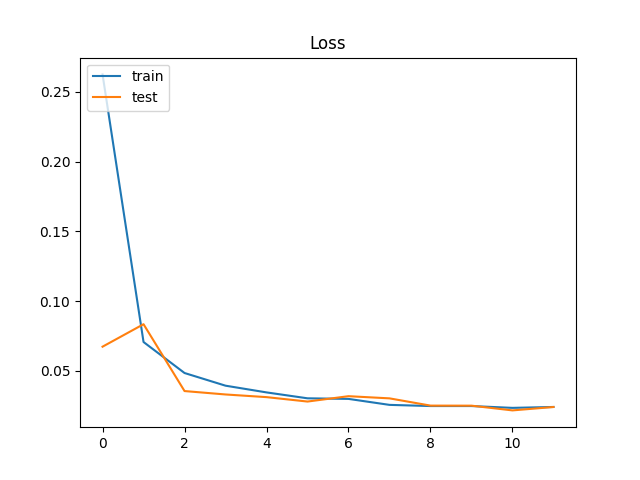
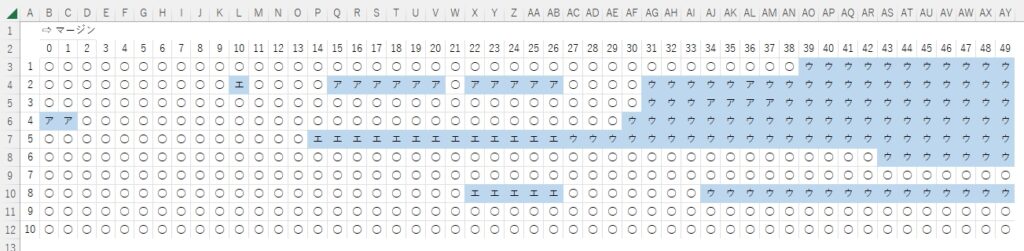
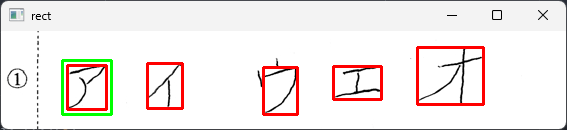
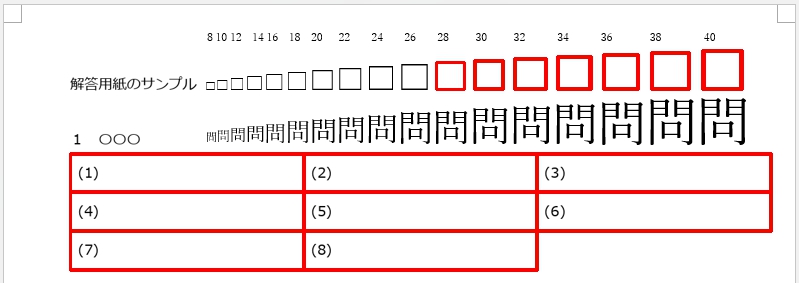
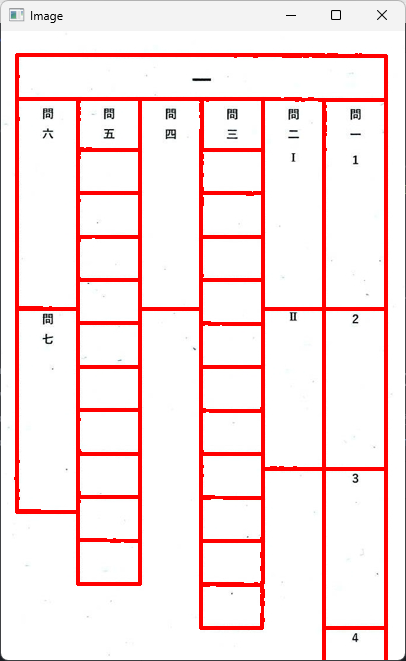
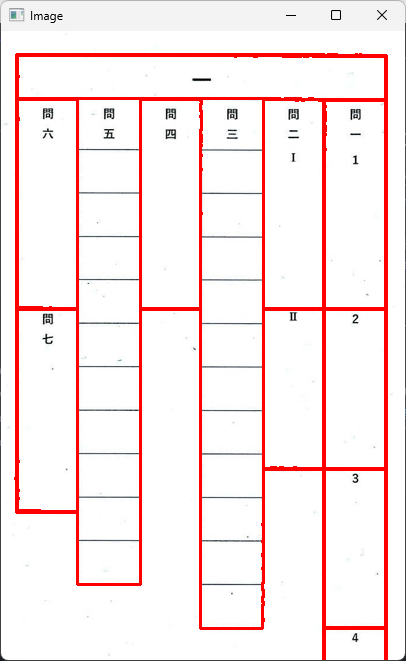
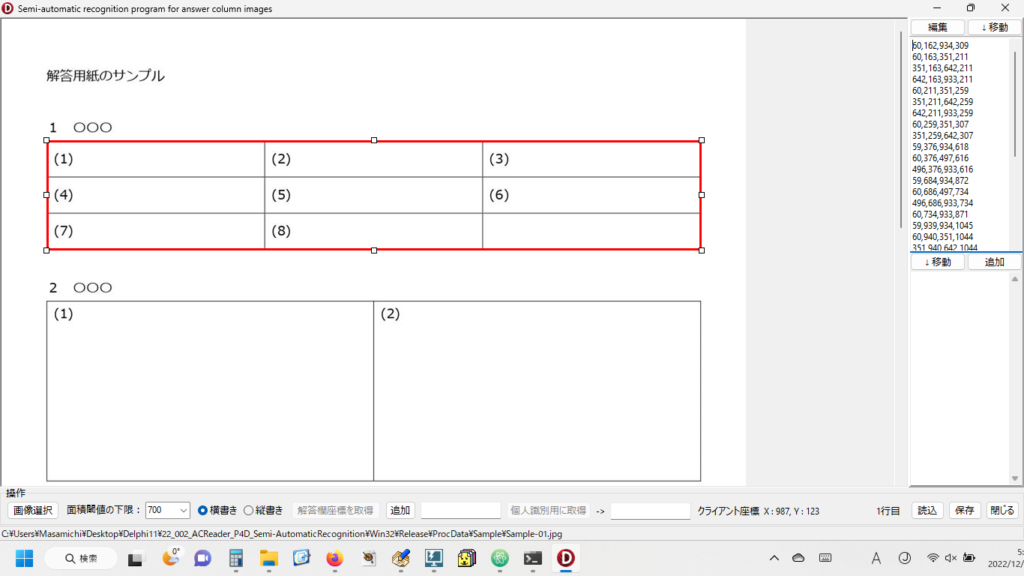
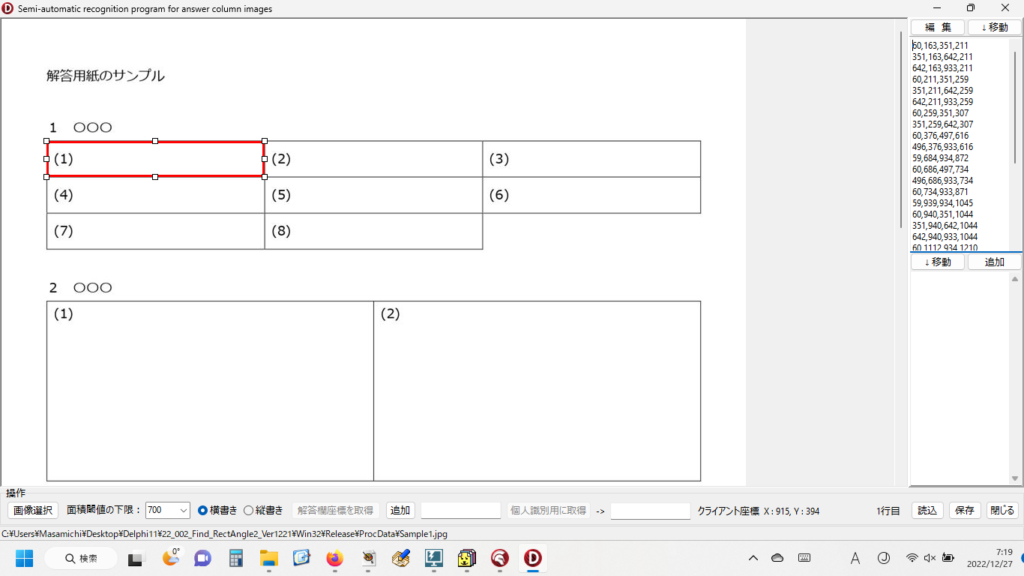
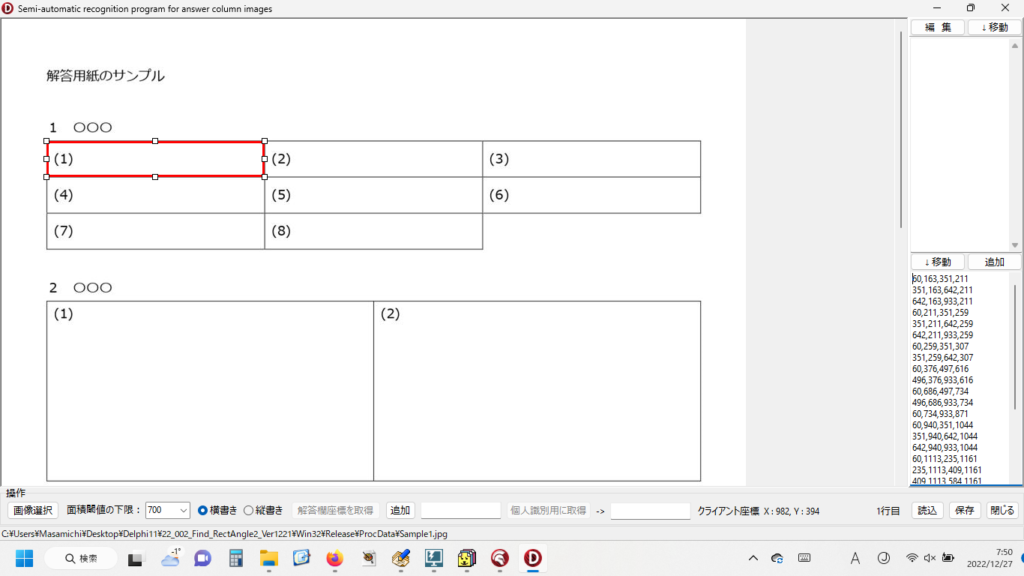
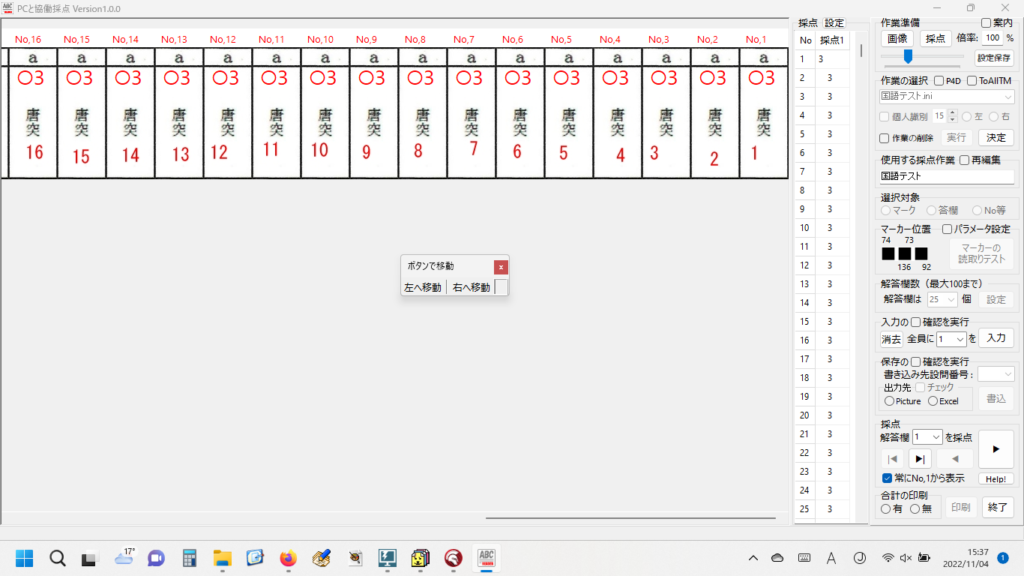
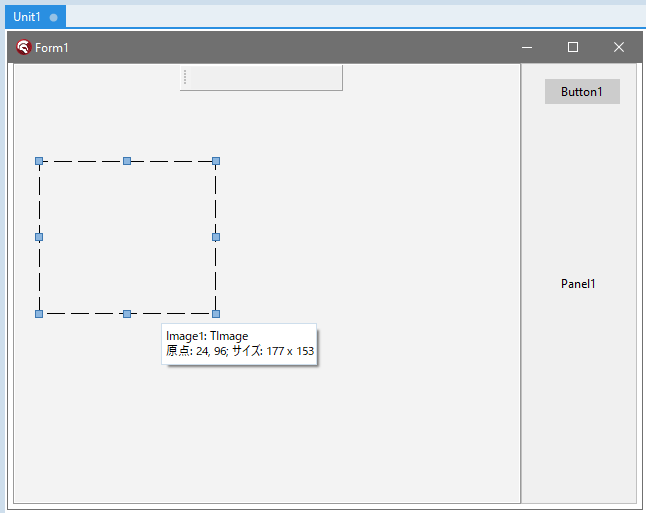
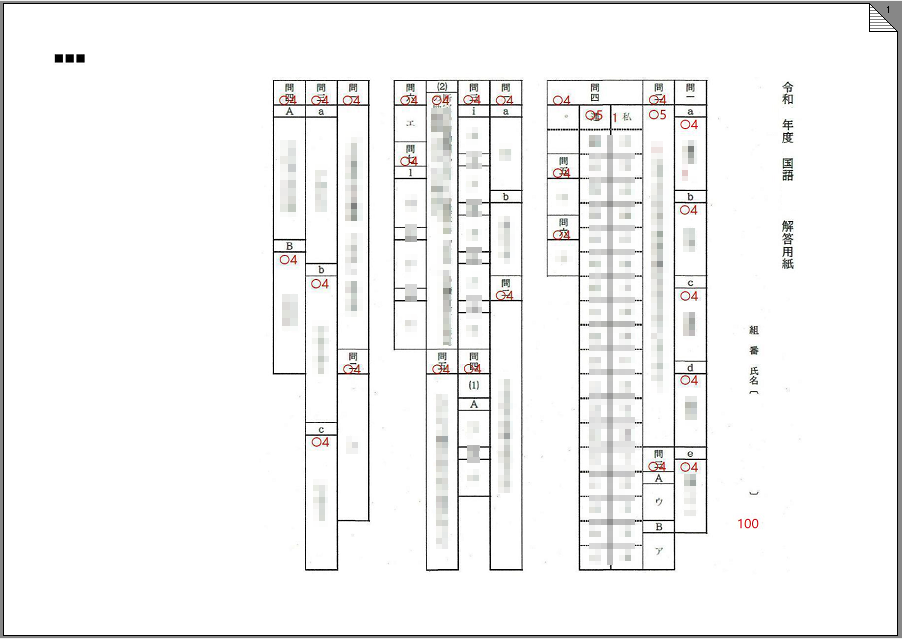
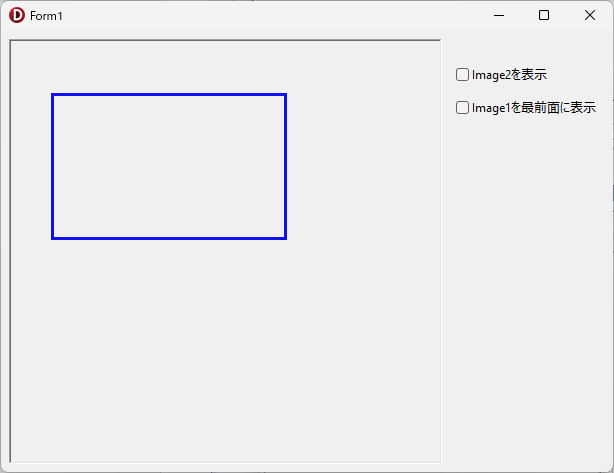
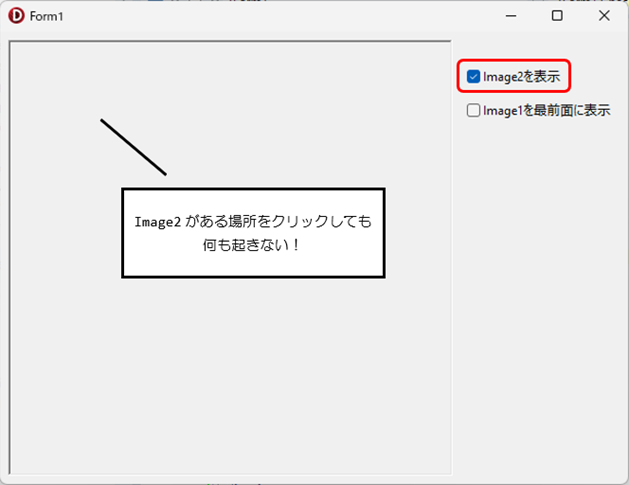
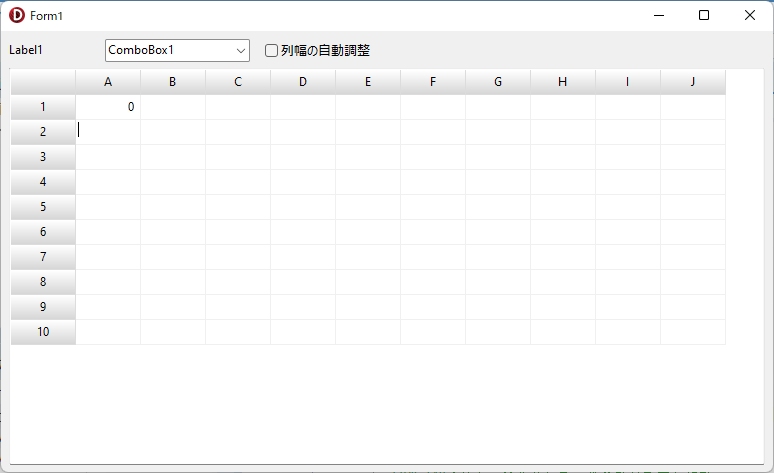
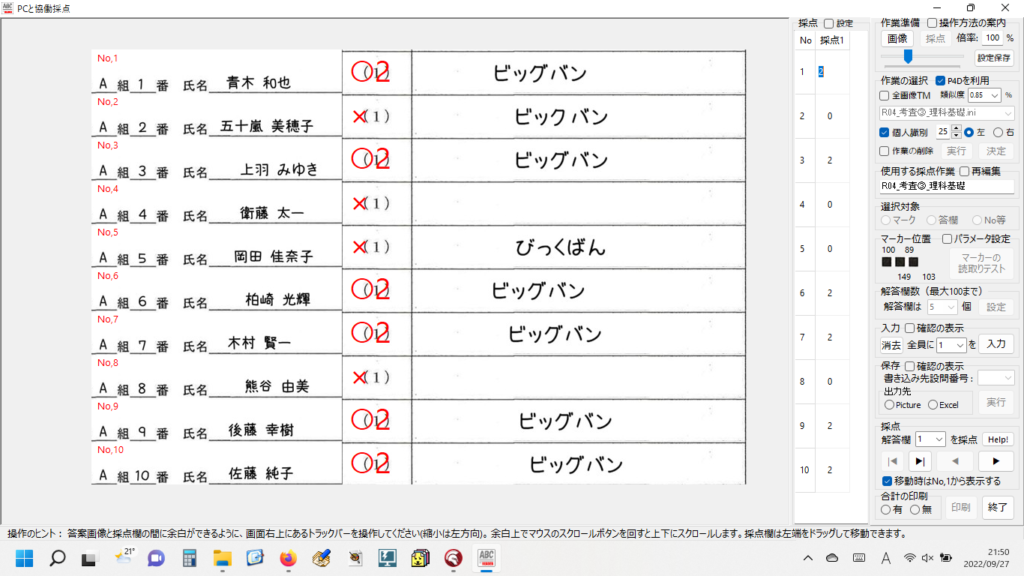
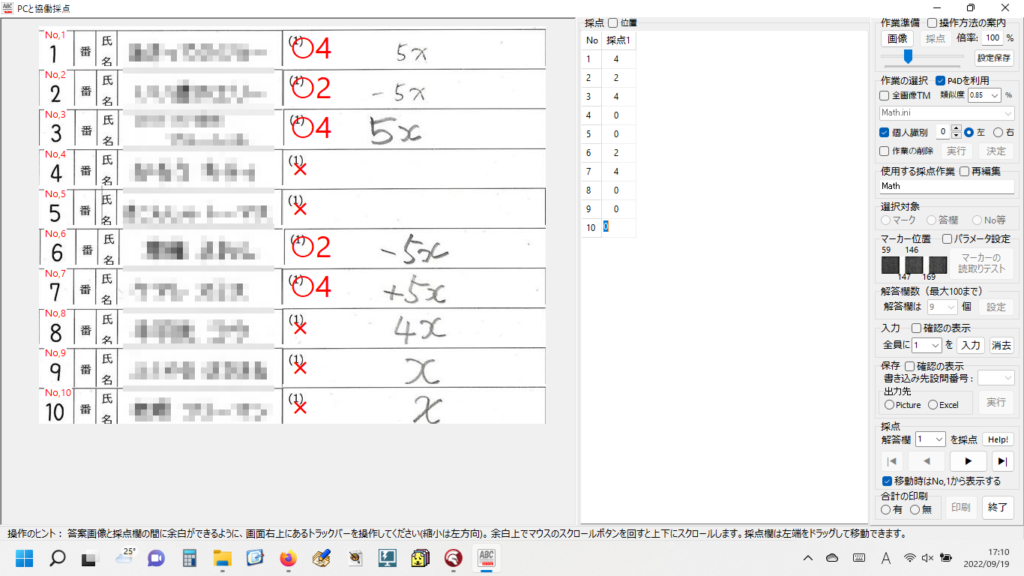
夢にまでは出てこなかったケド、手書き答案の自動採点プログラムがついに完成( した・・・ と自分的には思っている)。
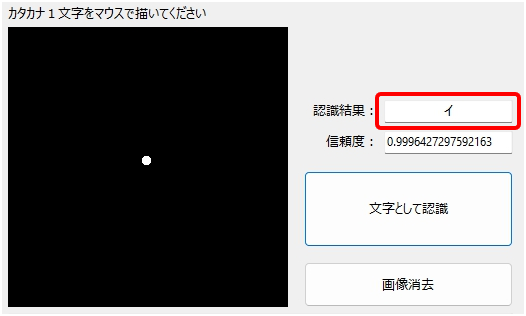
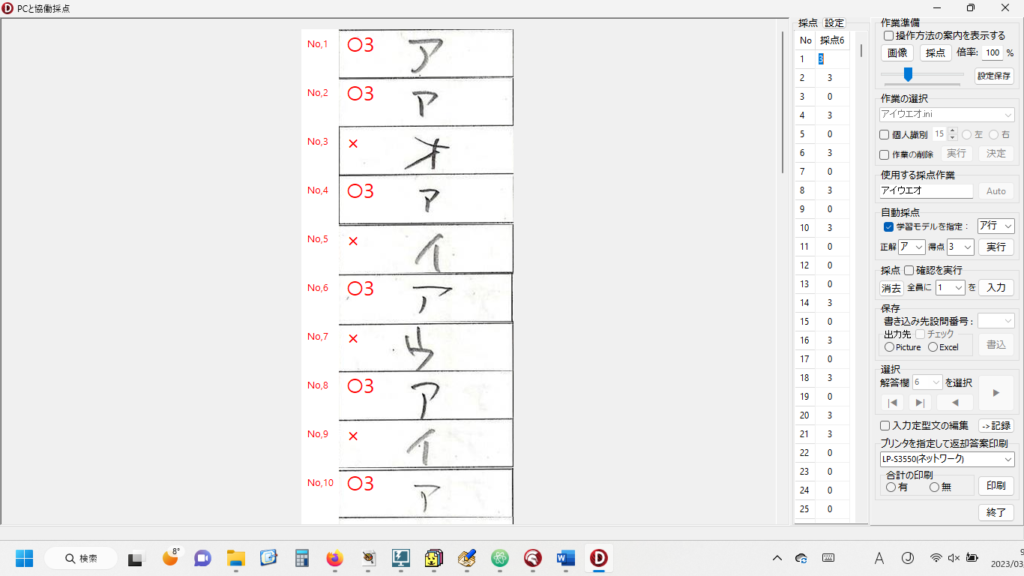
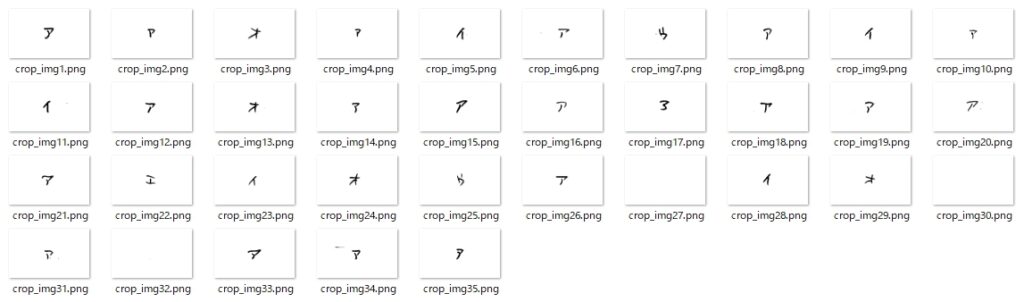
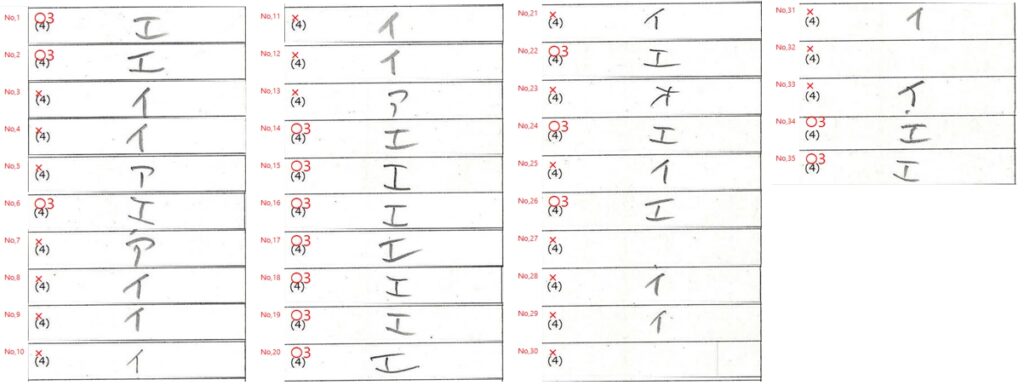
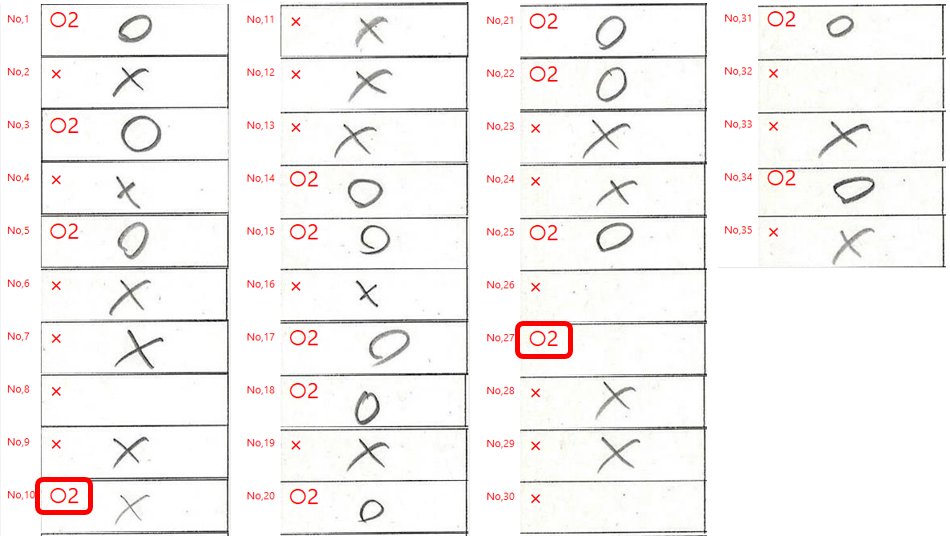
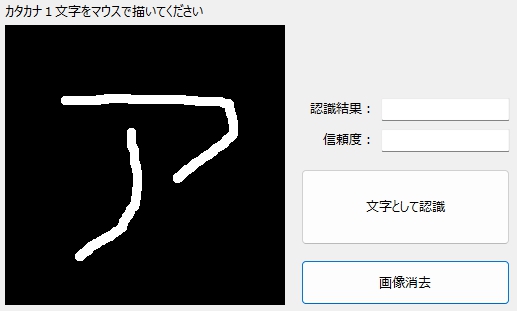
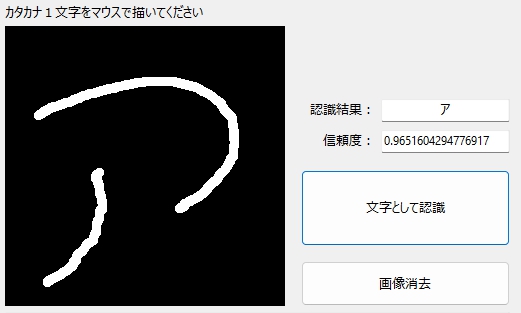
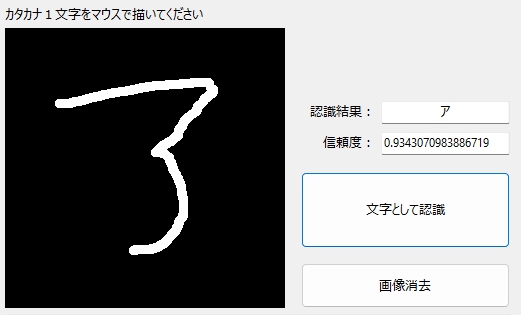
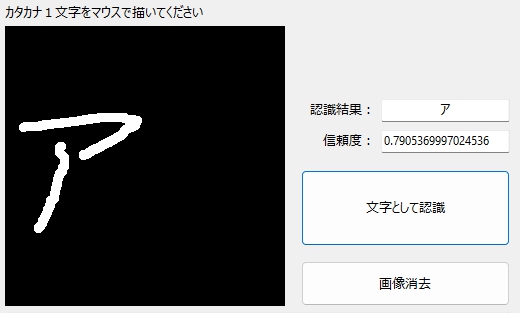
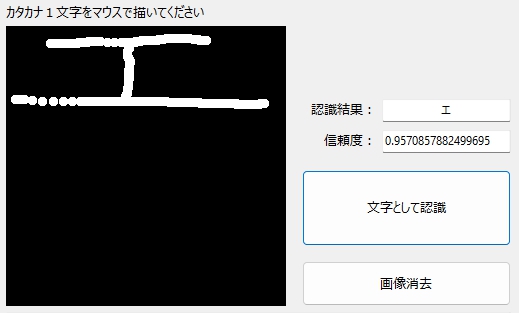
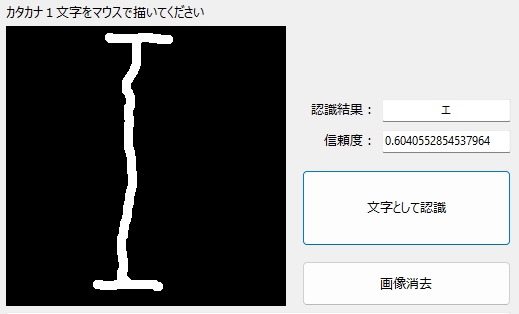
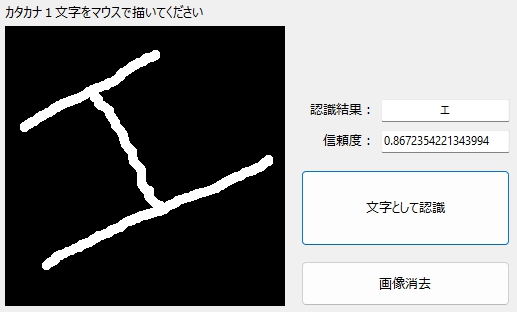
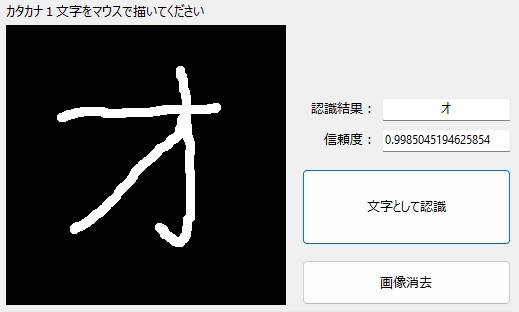
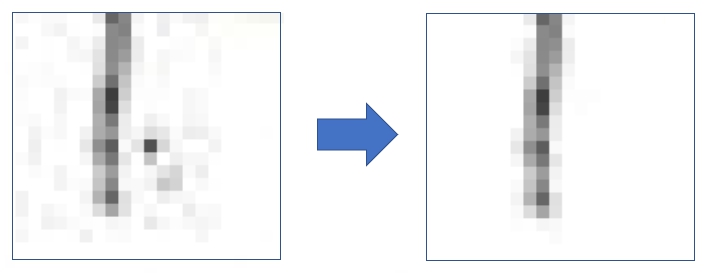
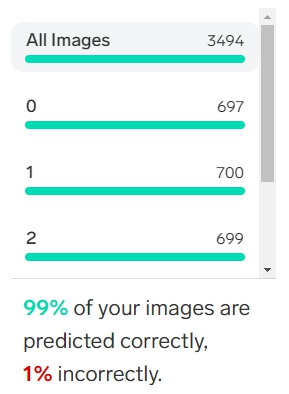
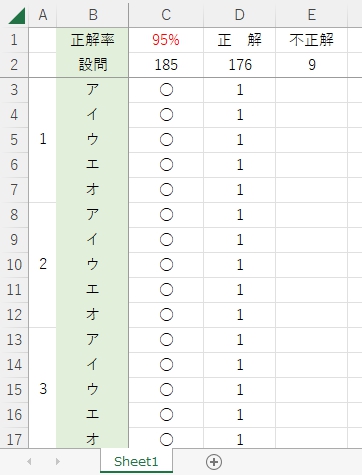
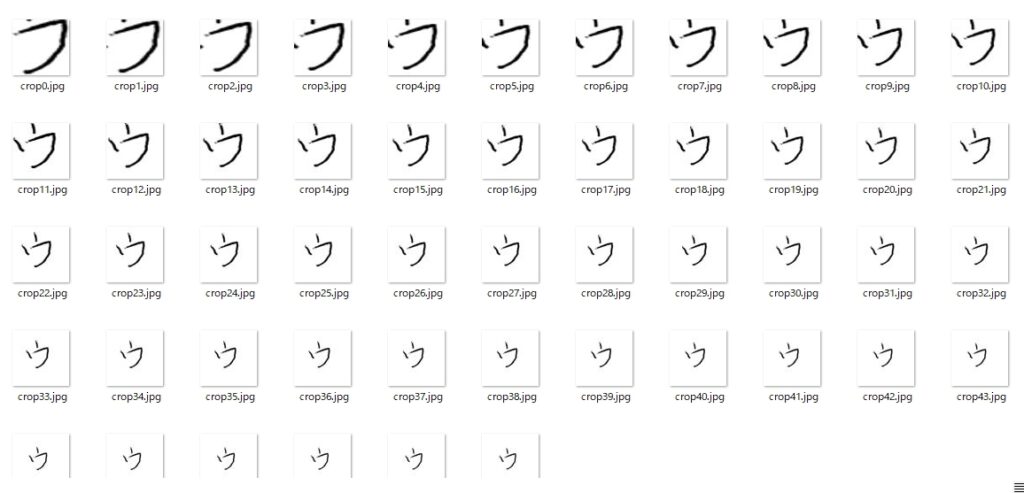
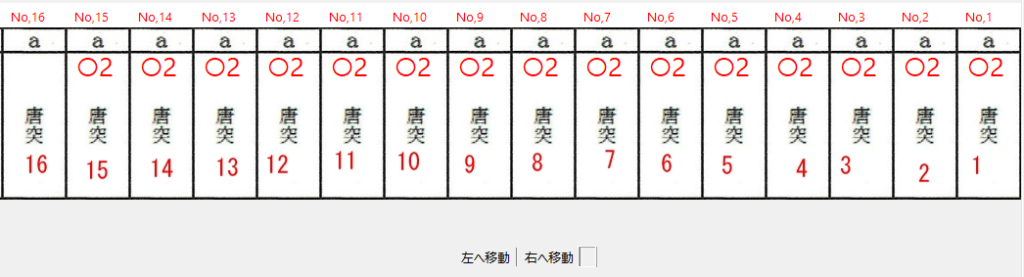
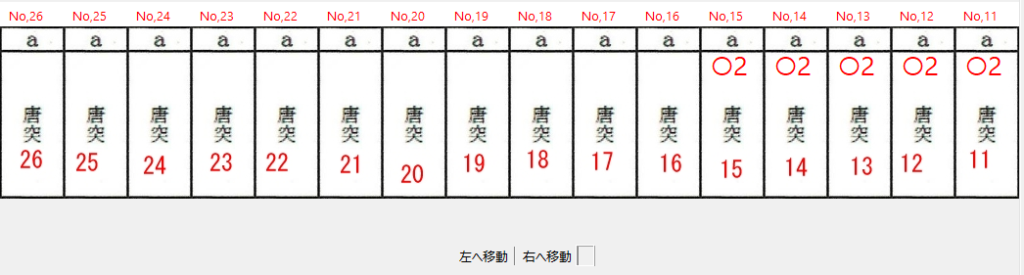
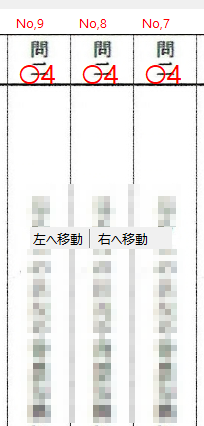
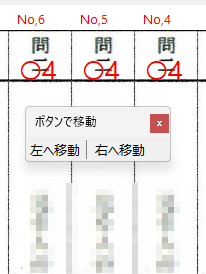
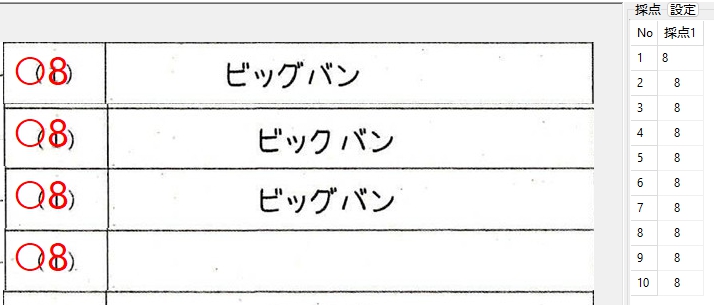
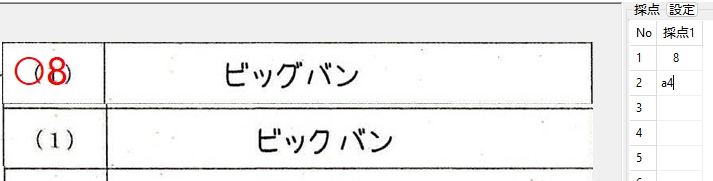
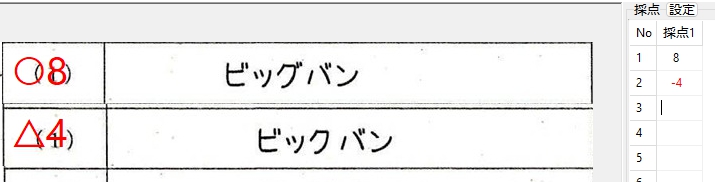
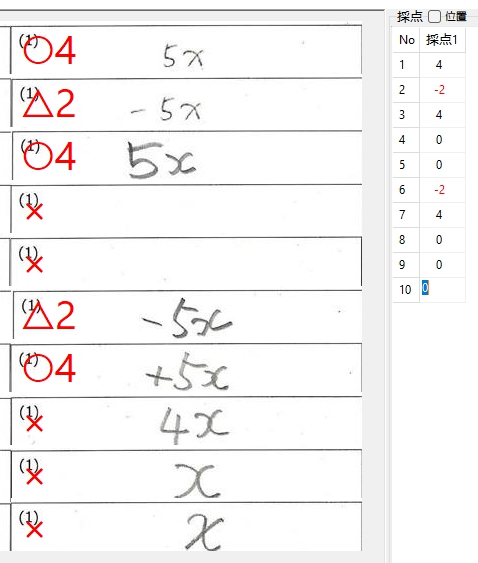
パラメータの設定さえ上手く行けば、上の画像のように、解答欄中の設問番号などには目もくれず、手書きのカタカナ文字だけを識別してほぼ期待通りに動作( してほしい くれる ・・・と自分的には思っている)。
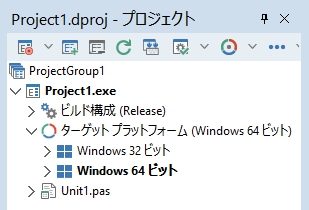
しかも、このプログラムは、自分史上初となる64ビットバージョン。
まぁコレは内部的に呼び出して使用しているTensorFlowに32ビット版がないから、仕方なく64ビット化した・・・というのが、ほんとうだけど。
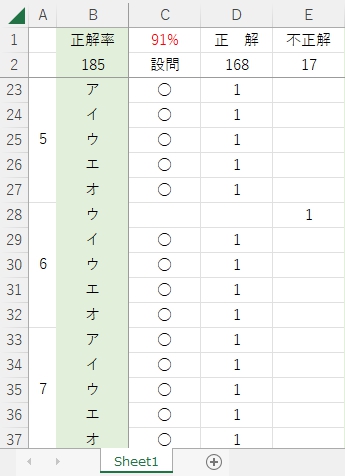
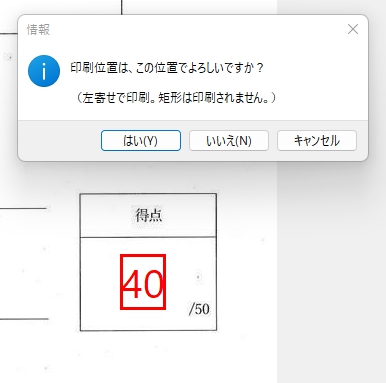
自動採点部分は「オマケ」程度に考えてもらえれば、採点記号&得点の入力や合計点の自動計算、返却用答案画像の印刷、さらに(こちらも自作の)マークシートリーダーとの併用等、採点プログラムとして必須の機能は間違いなく動作するから、職場の仲間たちによろこんで使ってもらえるはず・・・
みんなが、寄って集って(しかも、あろうことか、実戦で)動作検証してくれるから、ある意味でプログラマーにとってこれ以上しあわせな環境は「ない」カモしれない・・・
(僕がプログラマーと言えるか、どうか、それはまた別の問題として)
仲間たちの信頼を裏切らないための、自分に出来得る限りの動作検証は、もちろん必要だけど・・・
これで、またひとつ、夢をカタチにできた!
でも、うれしいより、なんだか カラッポ になっちゃった感じ。
(がんばった後は、いつもそうなんだけど)
すごーく高い山の頂上にたどり着いて、上を見上げたら
そこには、もっと高い、きれいな青い空があることに気づいたような・・・
確かに積み上げたと思ったもの、すべてが消えて
胸の中がカラッポになってしまったような・・・
でも、僕は、この感覚がとても好き。

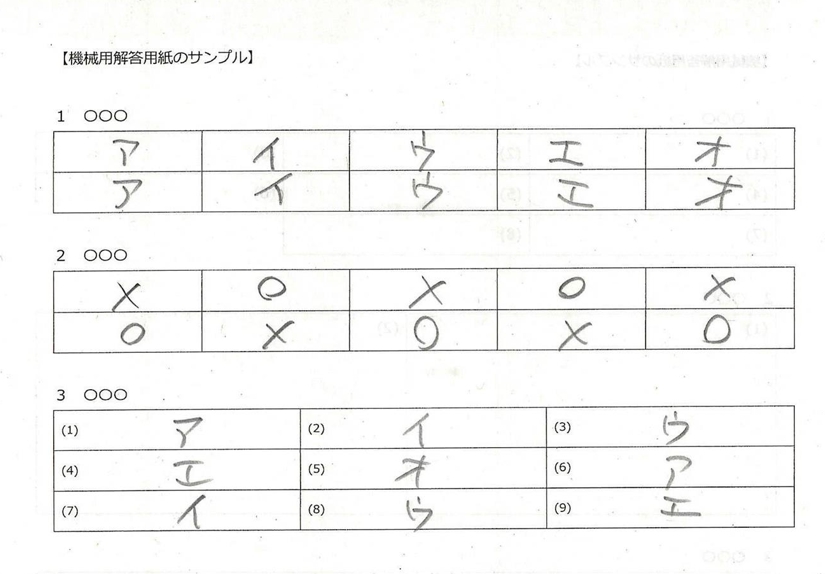
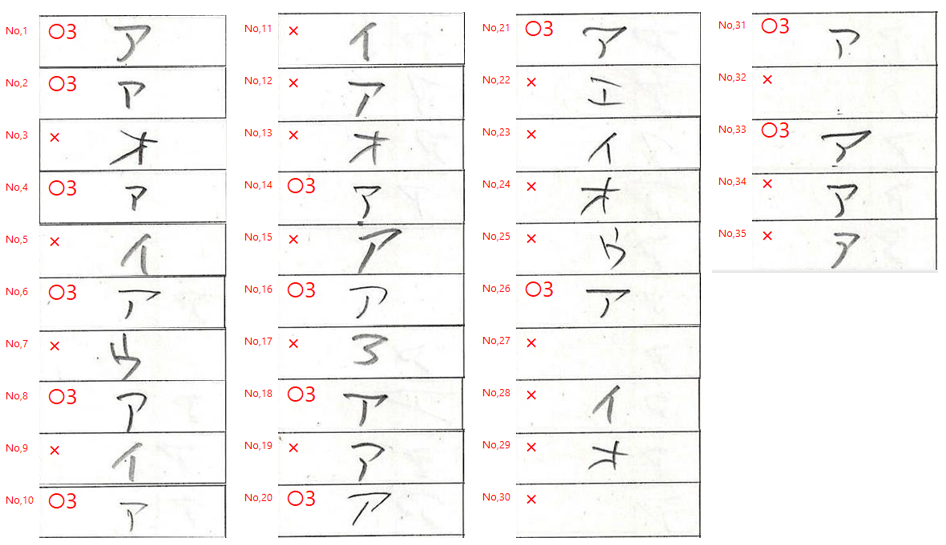
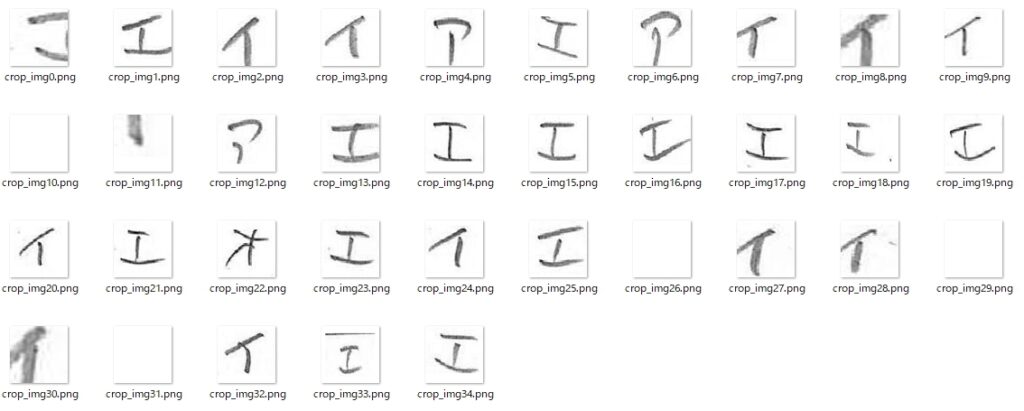
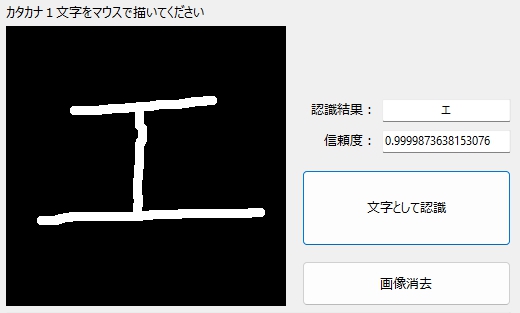
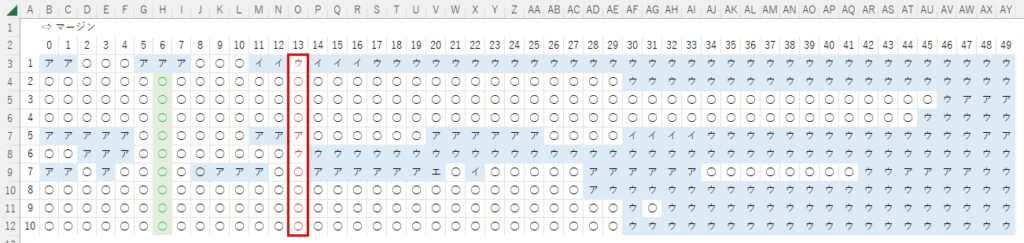
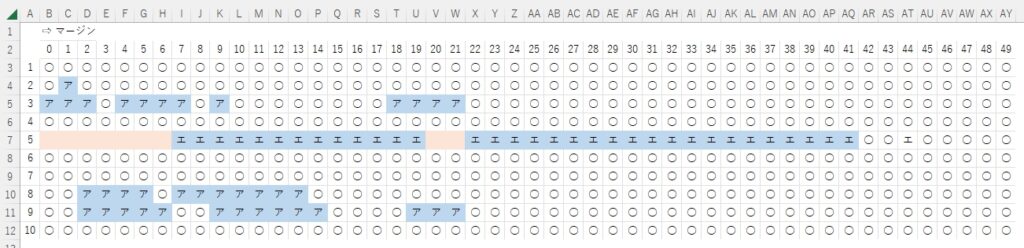
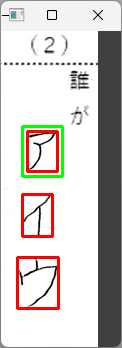
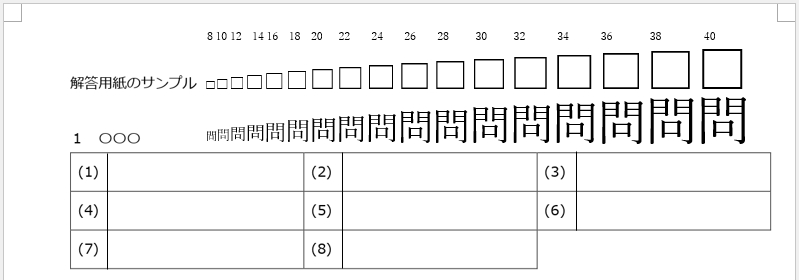
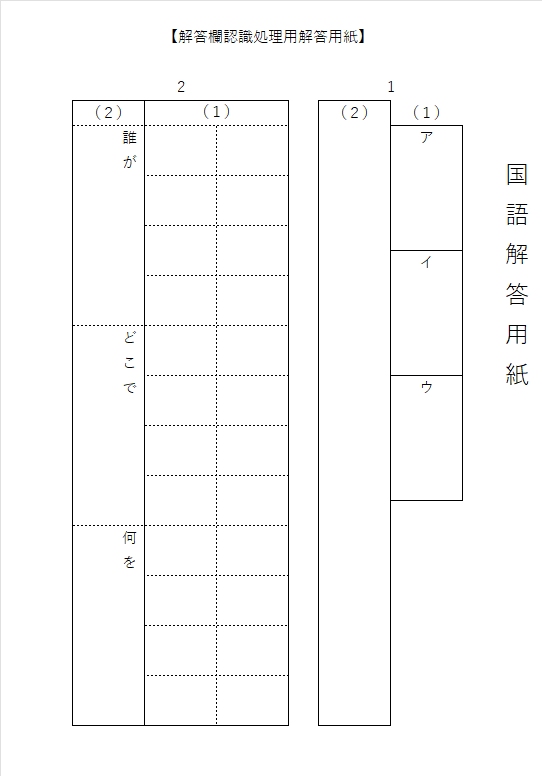
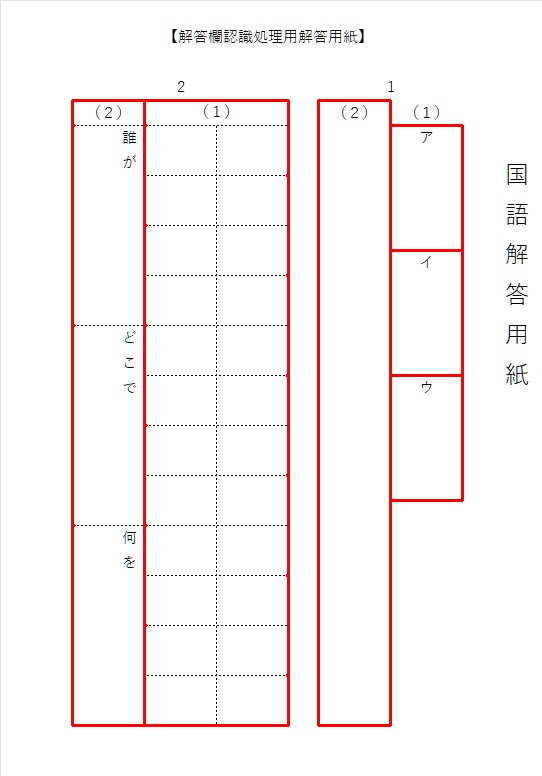
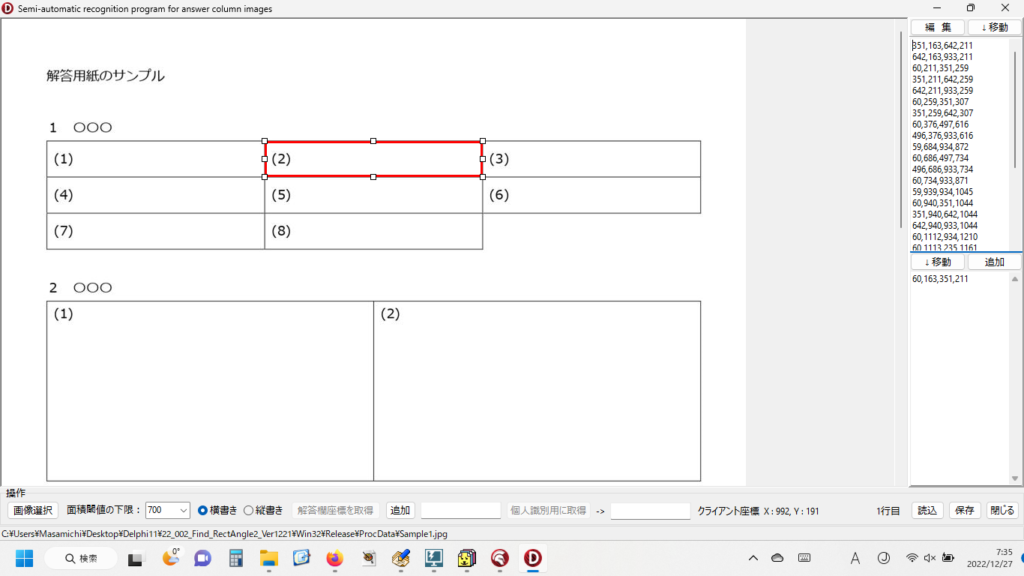
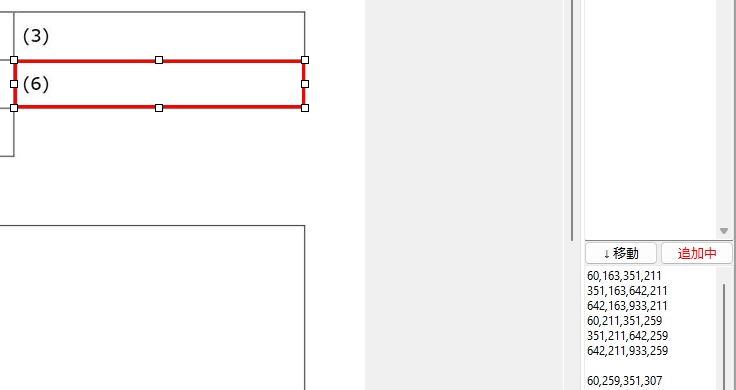
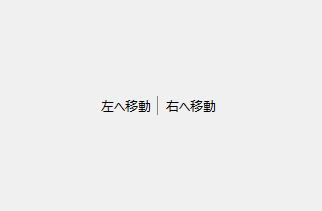
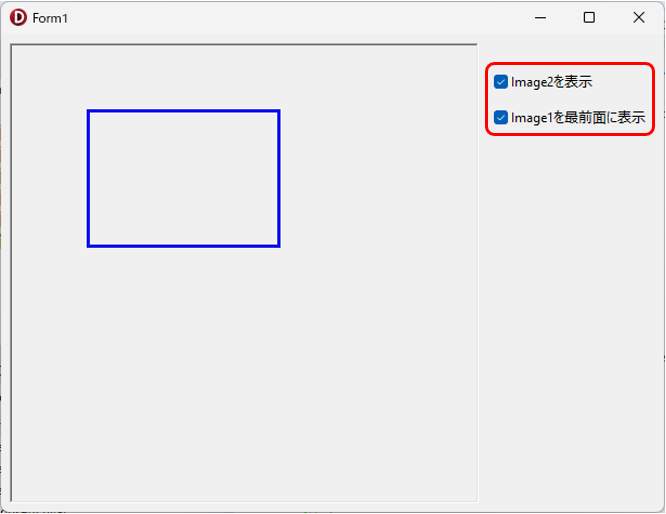
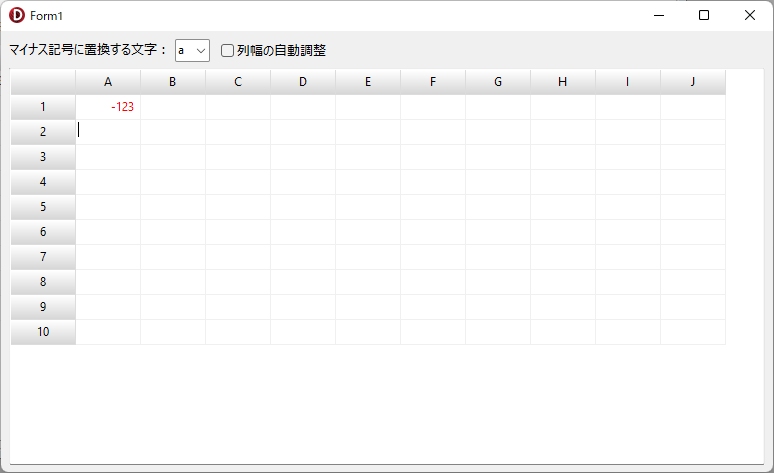
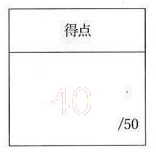
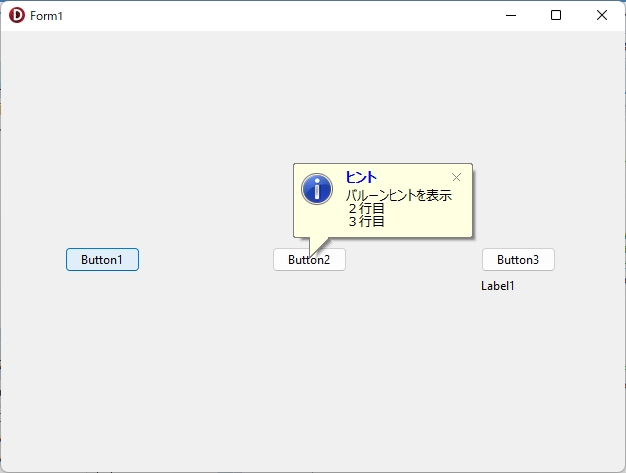
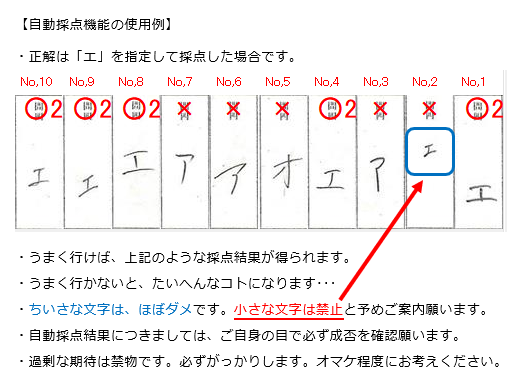
ここでの正解は「エ」に設定。ここでは1つも間違っていない。
(画面は合成です)
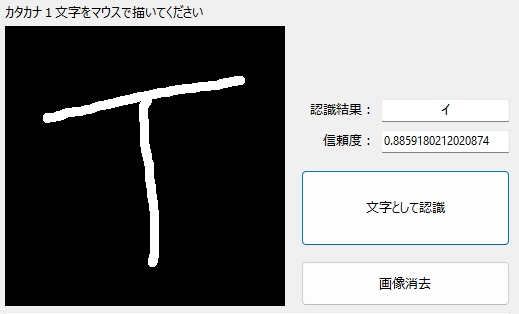
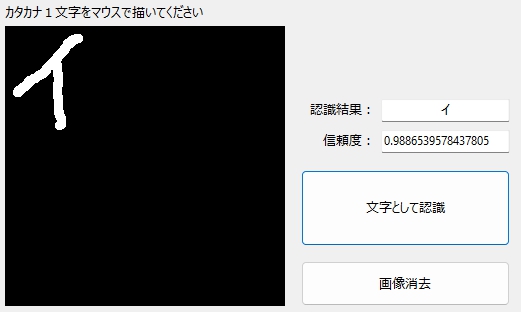
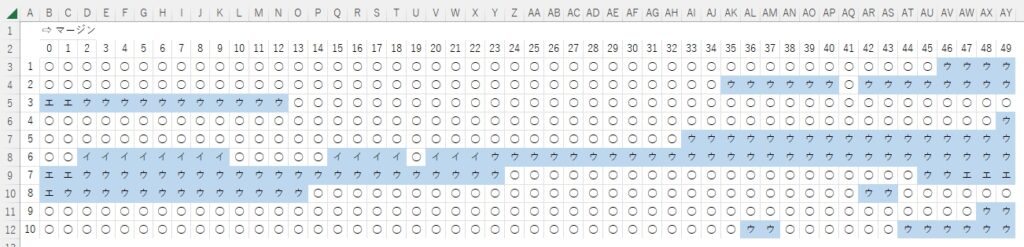
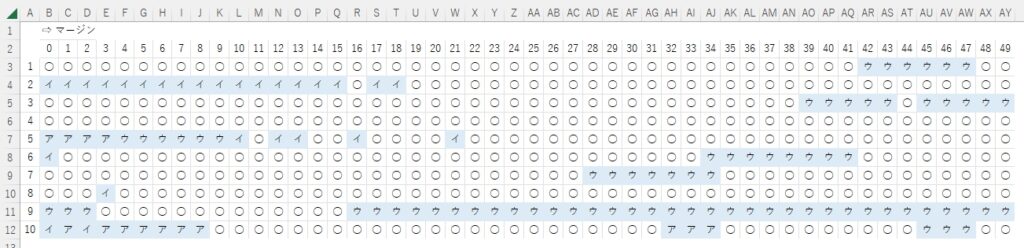
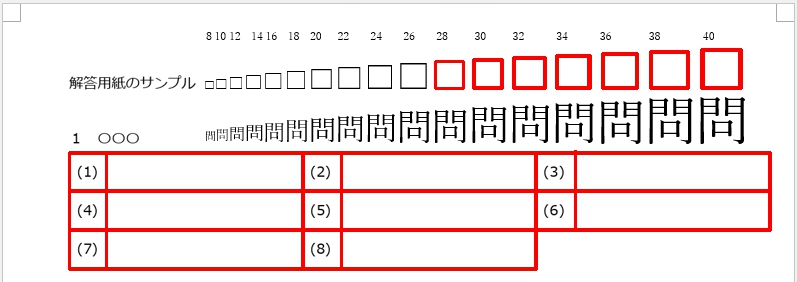
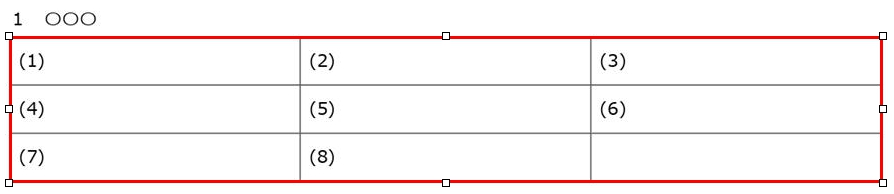
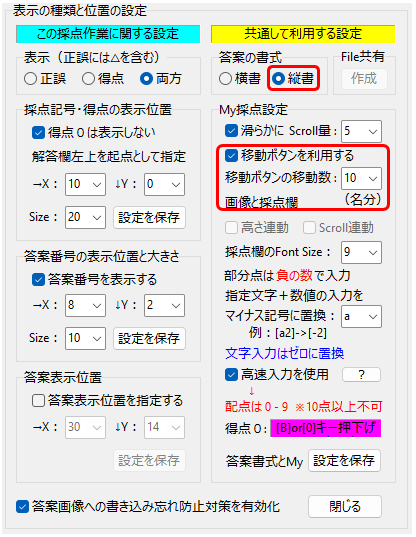
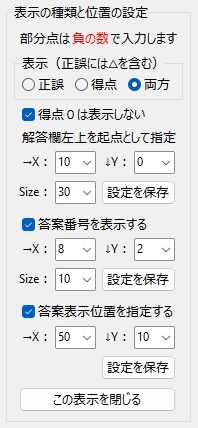
パラメータ設定さえ、決まれば・・・上の画像のように非常に良好な結果が出せる。
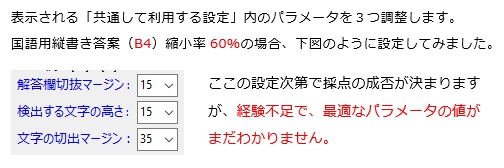
ただ、どんな答案に対しても「常に」良好な結果が出せるような・・・共通して利用できるパラメータ設定は、現在のところ、まだ見いだせない。
マークシートリーダーを作った時も、最後の最後で、この最適なパラメータ設定を見つけるという問題の解決のために、本番と同時進行で、ドキドキしながら試行錯誤を繰り返したんだ・・・。
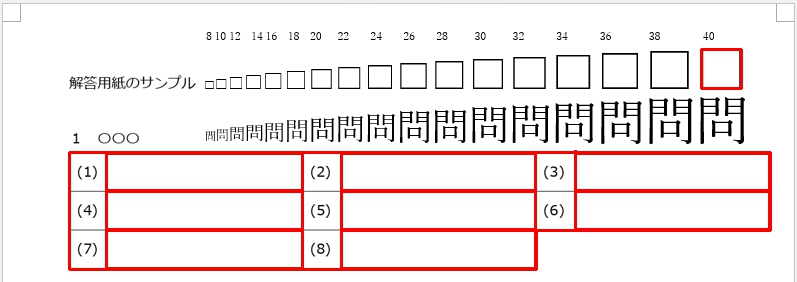
いろんな解答欄に、共通して利用できる設定さえ、見つけることができれば・・・
まぁ、ここまでくれば・・・
最初に夢見た自動採点を、「実現できた!」と言っていい はずだ。
そう、はずだった・・・んだ、ケド。
2.なんで起動しない?
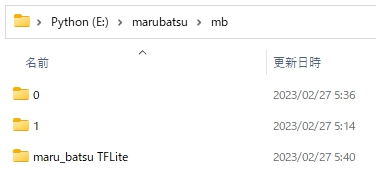
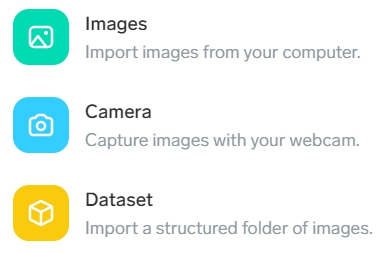
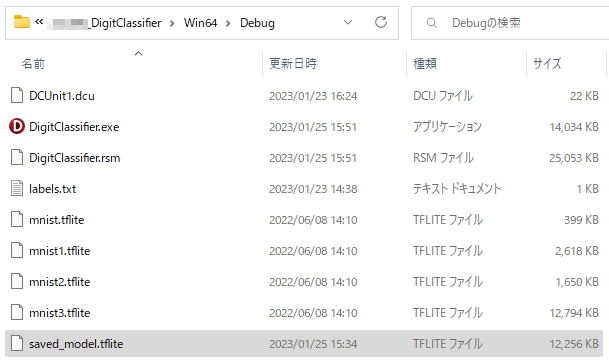
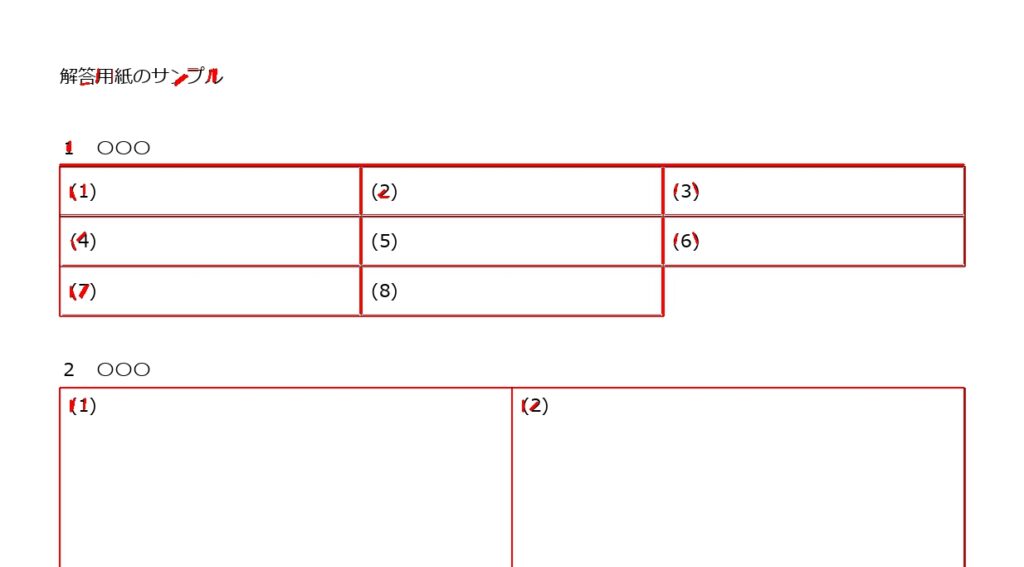
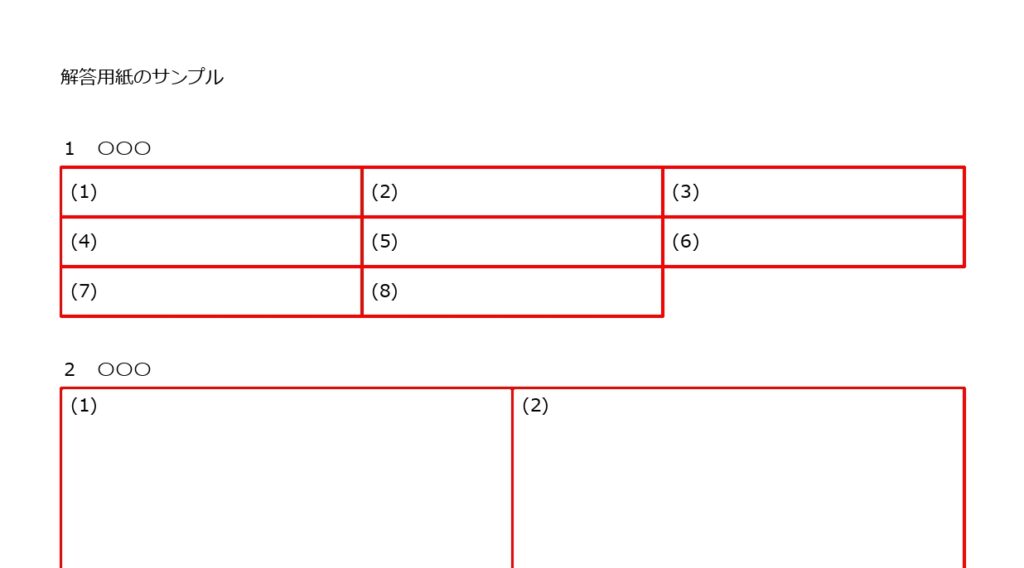
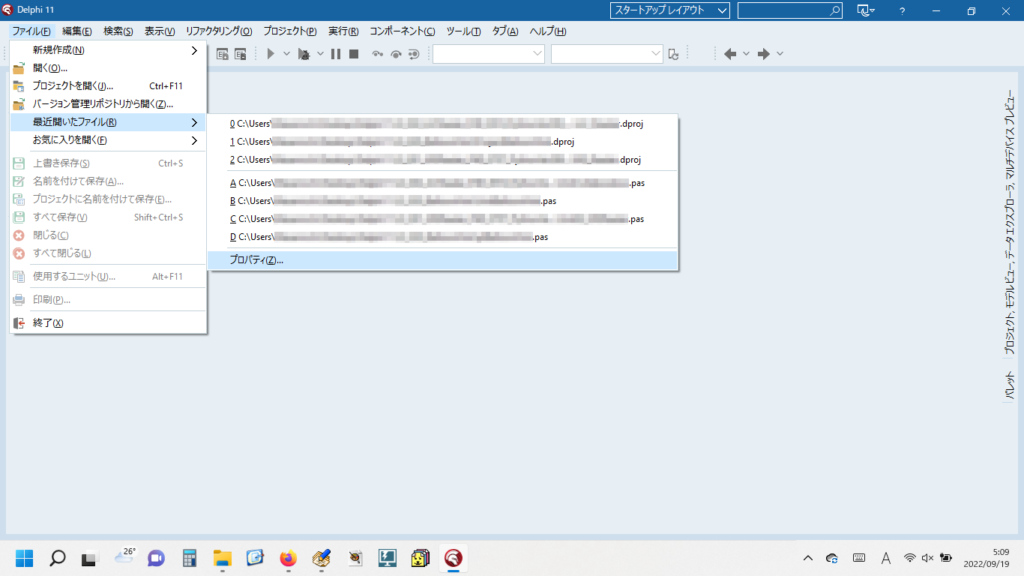
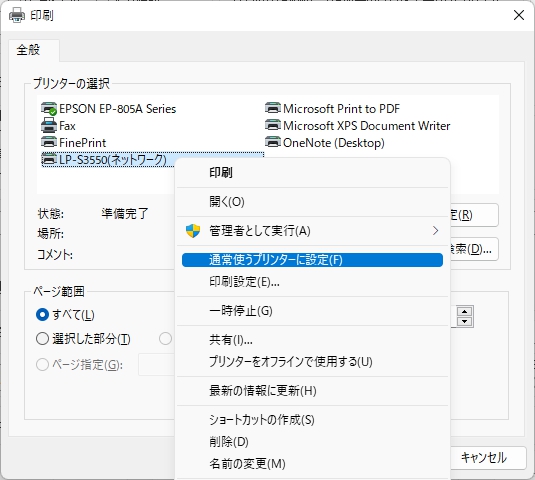
採点プログラムの動作に必要なモノすべてをReleaseフォルダに詰め込んだら、Releaseフォルダごと、職場のファイルサーバーの公開フォルダにコピーする。
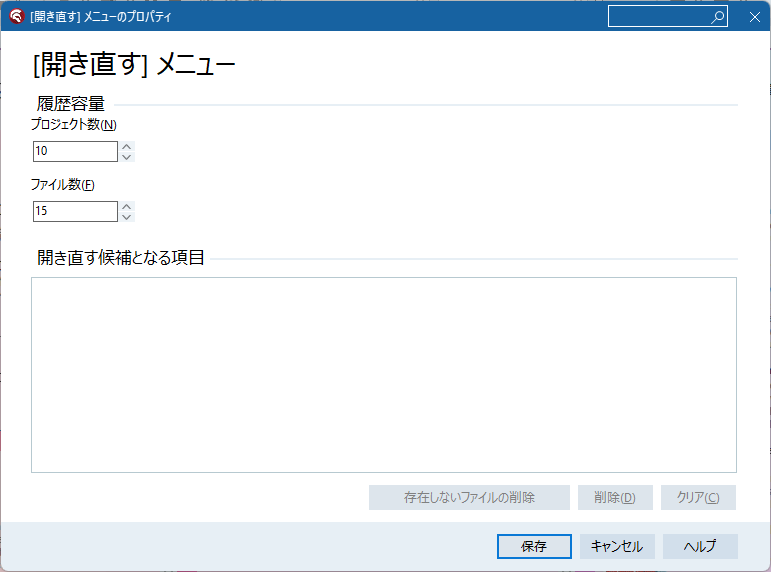
で、フォルダ名が “Release” のままでは内容がわからないから、フォルダ名を「採点プログラム」のような、誰が見てもわかりやすい名前に変更する。
あとは使いたい人が自分のPCのデスクトップ等に、そのフォルダごとコピペして、使いたい時にフォルダ内にあるAC_Reader.exeをダブルクリックして採点プログラムを起動してもらえば、それでOK!
(ACは “Answer column” の略)
・・・だったはず、なんだけど。。。
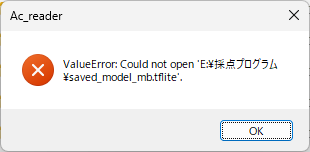
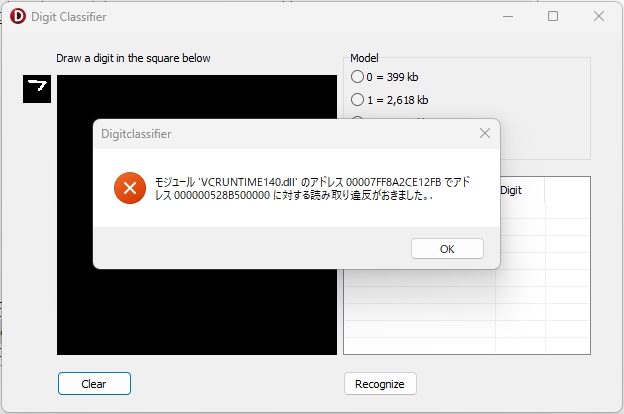
エラーメッセージは、「値のエラー:採点プログラムフォルダ内のsaved_model_mb.tfliteファイルを開くことができません」と訴えている。
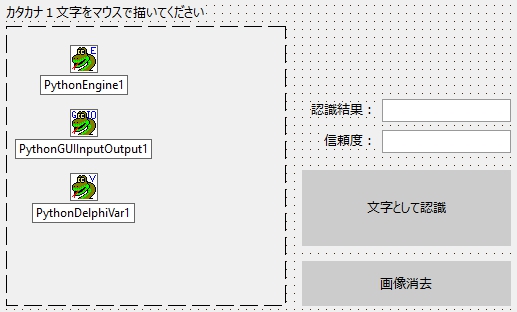
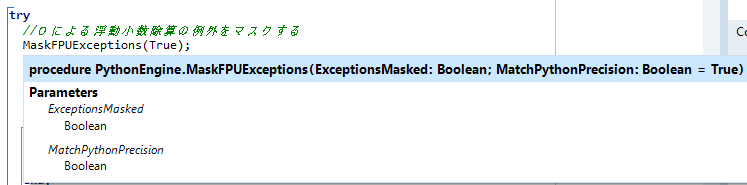
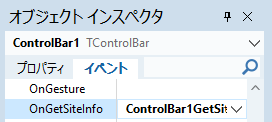
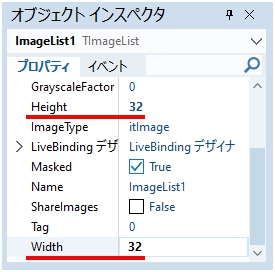
僕はFormCreate時にPythonEngineを初期化し、自動採点機能を1回だけ動かしている。これはユーザーがFormの自動採点ボタンを押した時に「動作が重たい」と感じないようにするために行っていることだ。同じ内容を同じようにembeddable Python を組み込んだマークシートリーダー(Win32版)でも行って、これまで一度も問題は起きなかった・・・。
PythonEngineの初期化手続きは・・・
//embPythonの存在の有無を調査
AppDataDir:=ExtractFilePath(Application.ExeName)+'Python39-64';
if DirectoryExists(AppDataDir) then
begin
//フォルダが存在したときの処理
//MessageDlg('Embeddable Pythonが利用可能です。', mtInformation, [mbOk] , 0);
PythonEngine1.AutoLoad:=True;
PythonEngine1.IO:=PythonGUIInputOutput1;
PythonEngine1.DllPath:=AppDataDir;
PythonEngine1.SetPythonHome(PythonEngine1.DllPath);
PythonEngine1.LoadDll;
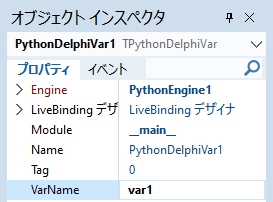
//PythonDelphiVar1のOnSeDataイベントを利用する
PythonDelphiVar1.Engine:=PythonEngine1;
PythonDelphiVar1.VarName:=AnsiString('var1'); //プロパティで直接指定済み
//初期化
PythonEngine1.Py_Initialize;
end else begin
//MessageDlg('Embeddable Pythonが見つかりません!',mtInformation,[mbOk],0);
PythonEngine1.AutoLoad:=False;
end;ここでエラーは起きていないようだ。次が自動採点の実行。最初の1回目だけはそれなりに時間(数秒だけど)がかかるから、FormCreate時に1回だけ実行しておけば、ユーザーにとっての1回目の自動採点の実行は、実は2回目になり、待ち時間ほぼゼロで動くようになる。そのために、どうしても必要な部分なんだけれど・・・
メッセージから考えて、エラーはStringListを作成して実行しているPythonスクリプトの “model.load()” おそらくここで起こってる・・・
if os.path.isfile(img):
image = Image.open(img)
model = TFLiteModel(dir_path=dir_path)
model.load()
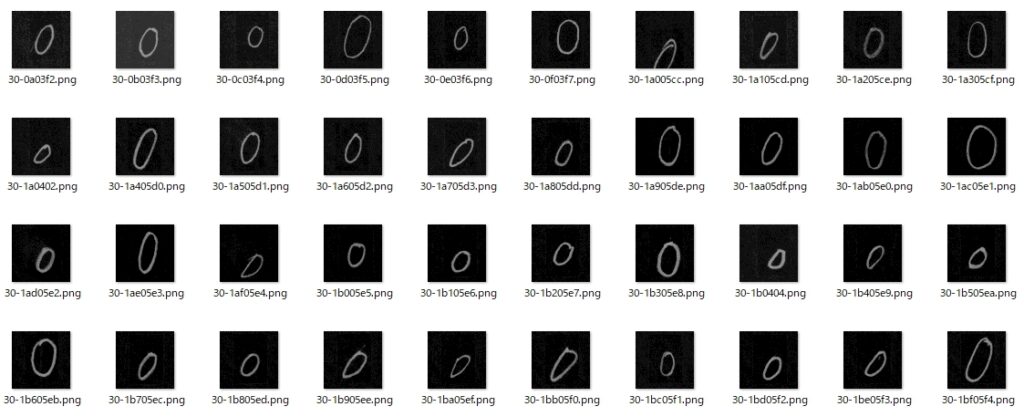
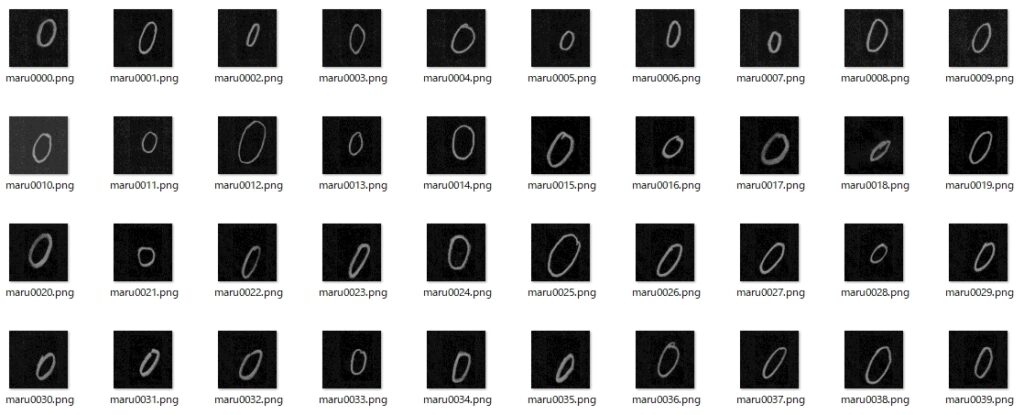
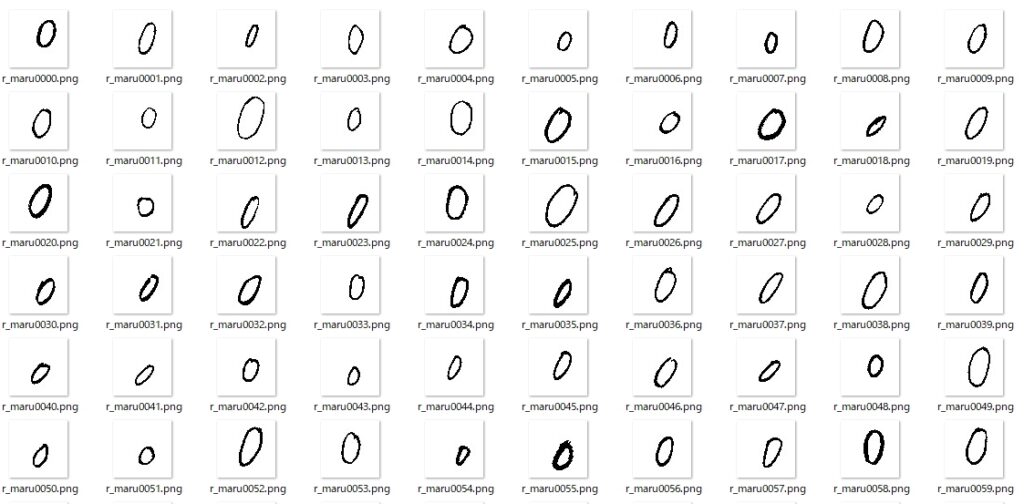
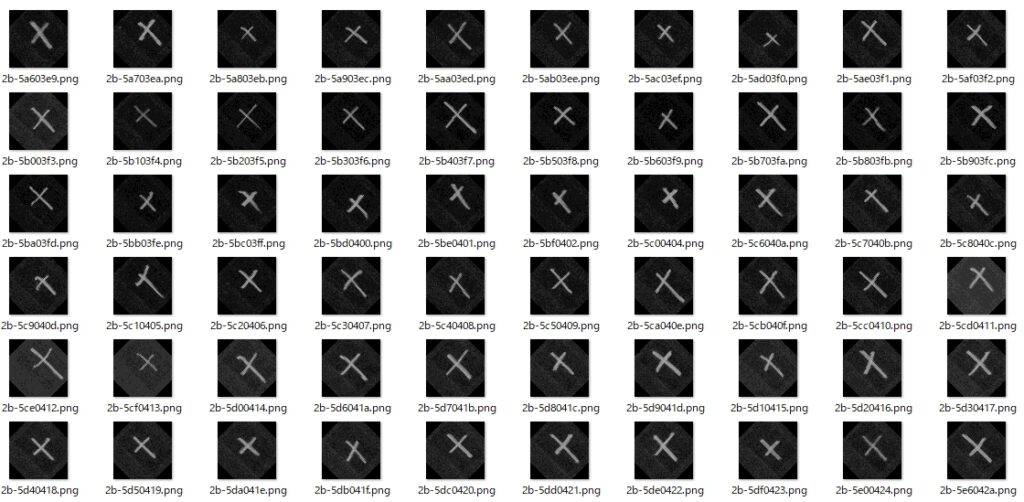
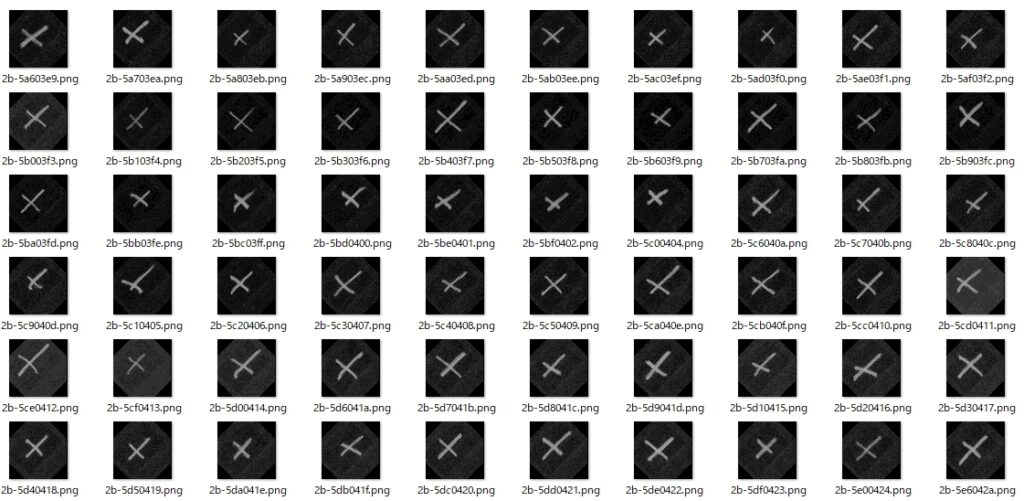
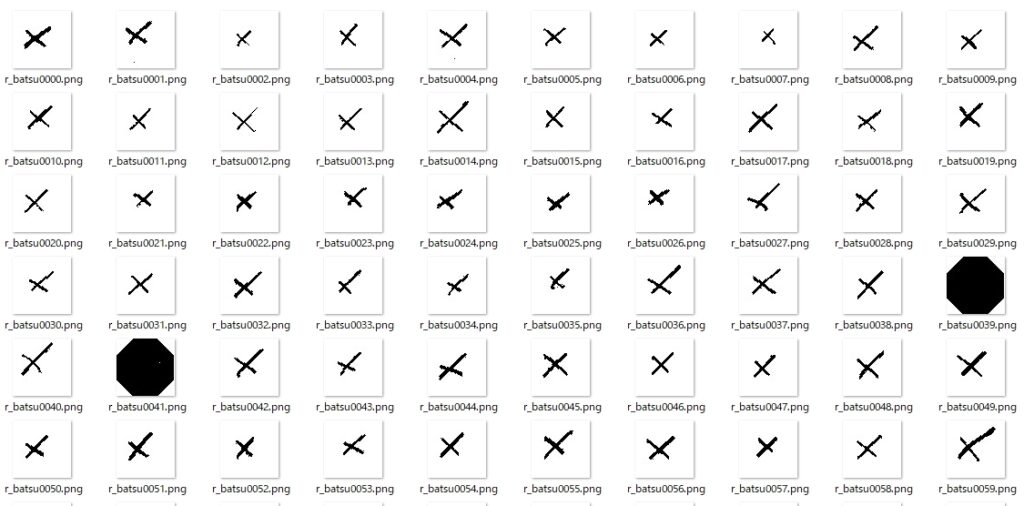
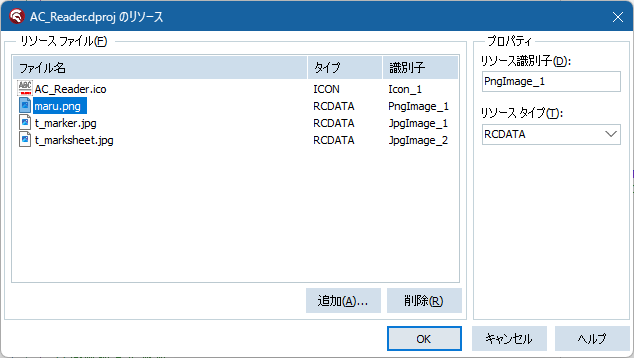
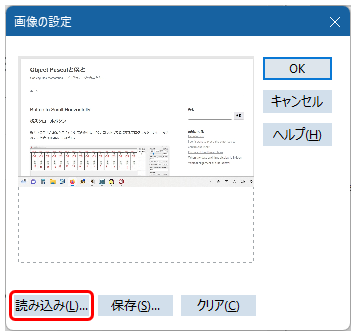
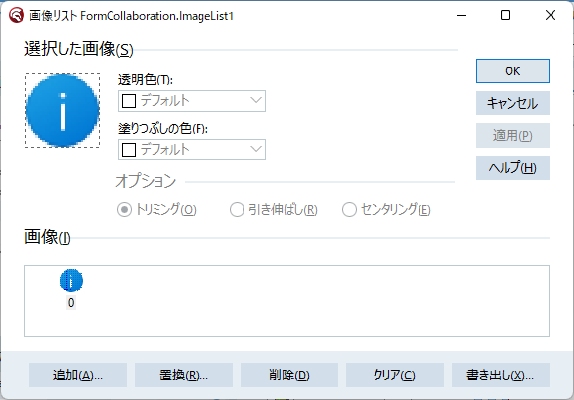
outputs = model.predict(image)プログラムでは、起動時にリソースに埋め込んだ〇記号の画像を再生し、これを読み込んで機械学習モデルと照合する「誰にもわからない」自動採点を一度だけ行っている。
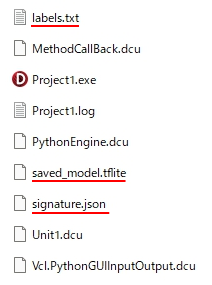
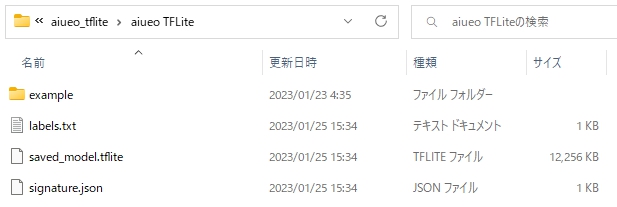
“model.load()” 時に呼び出される〇×記号の学習モデルが saved_model_mb.tflite だ・・・。
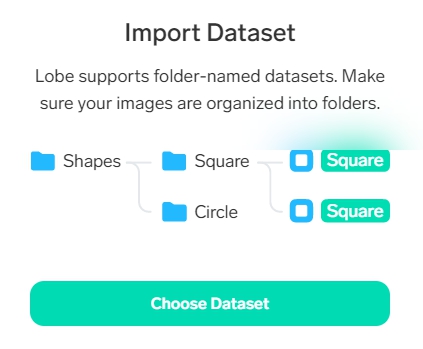
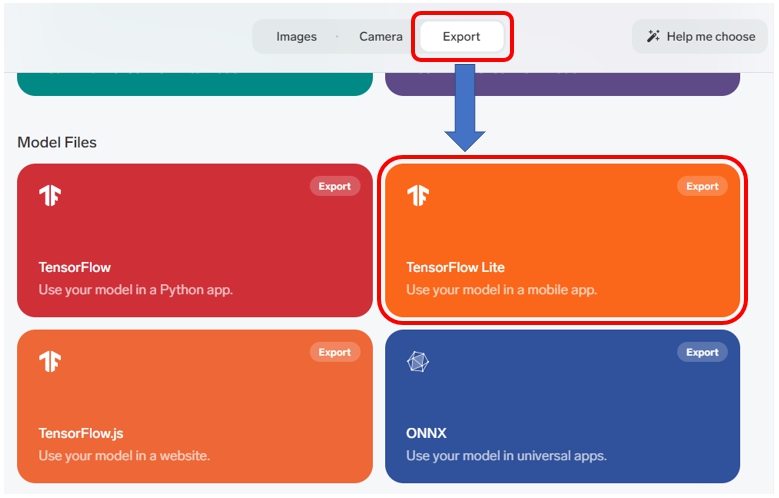
このtflite形式の学習モデルはLobeが生成したjsonファイル内で、次のように・・・
"filename": "saved_model_mb.tflite"filename変数に代入されて参照できるように設定され、このjsonファイルをPythonスクリプトではTFLiteModelクラスの中で開いている・・・
with open(os.path.join(model_dir, "signature_mb.json"), "r") as f:なぜ、ここで saved_model_mb.tflite が開けないんだ?
My PC では、同じプログラムが「何の問題もなく動作する」のに・・・
ナニが違う・・・?
3.また、やっちゃった!

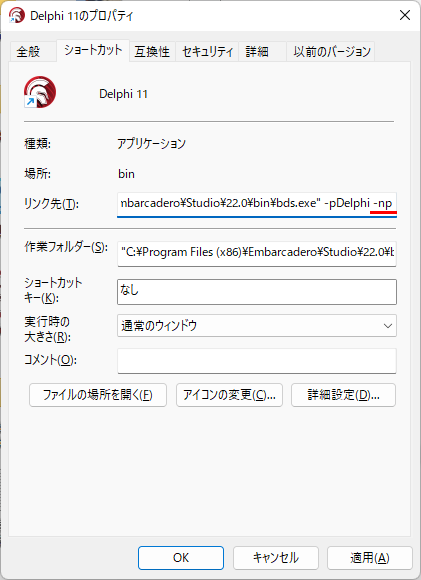
クライアントPCで起動時に表示されるエラーメッセージを、もう一度見つめて考える・・・
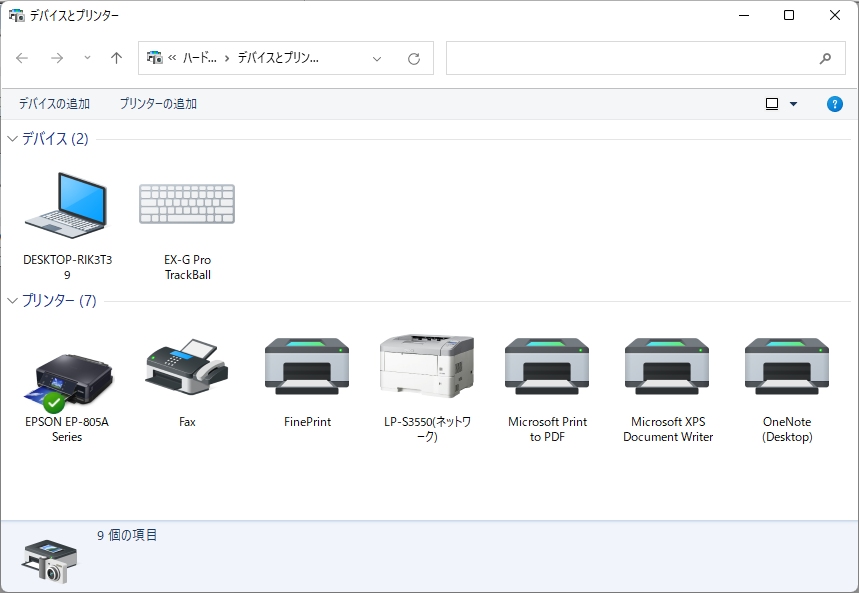
「E:¥採点プログラム」 僕のPCとの違いはここだけだ・・・
ここで、ようやく僕は気づいた・・・。そうだ。exeへのPathが違うんだ・・・
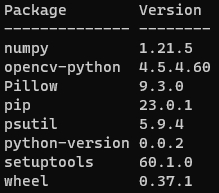
Pathに全角文字が・・・、日本語が含まれていると・・・OpenCVでもファイルの読み込みに失敗してた・・・だからPillowを使ってファイル読み込み時のエラーを回避したじゃないか。
わかった。これがエラーの原因だ。では、どう対応したらいい?
Delphiに埋め込む前のPythonスクリプトの状態で、自動採点部分のみを動かして対応策を考える。
スクリプトを走らせる。すると「期待通り」にエラーが発生。
Traceback (most recent call last):
  File "E:\採点プログラム\xxx.py", line 138, in <module>
    model.load()
  File "E:\採点プログラム\xxx.py", line 58, in load
    self.interpreter = tflite.Interpreter(model_path=self.model_file)
  File "E:\WPy64-3980\python-3.9.8.amd64\lib\site-packages\tensorflow\lite\python\interpreter.py", line 455, in __init__
    _interpreter_wrapper.CreateWrapperFromFile(
ValueError: Could not open 'E:\採点プログラム\saved_model.tflite'.
[Finished in 5.174s]
まずい・・・。エラーはTensorFlowの内部で起きている・・・
この壁は、今の僕の実力では越えられない・・・。
また、やっちゃった・・・
Python環境と全角文字の組み合わせは、要注意!だったはずなんだ・・・
すっかり、そのことを忘れてた・・・
2ヵ月半もかけて、ここまでたどり着いたのに
まさか、最後に、こんな・・・
もしかしたら・・・と思い、読み込み時の文字コードをUTF-8に指定して見たけれど。
with open(os.path.join(model_dir, "signature.json"), "r", encoding="utf-8") as f:状況は変わらず・・・。つまり・・・
Pathに日本語があると
僕のプログラムは起動しない・・・
4.それでも動かしたい僕は・・・
現在の僕の実力では、この問題に対応できないことはわかった。もっとよくなるためには勉強しなければいけないけれど、それには時間が必要だ。
とりあえず、今、できることは何か?
答えはわかっている。
Pathに日本語(全角文字)が
なければイイ!
この世から日本語を消す・・・
壮大すぎる・・・、実現不可能な挑戦だ。
第一、僕は日本語を愛している。それを消し去るなんて出来るわけがない。
そんなことをするくらいなら、僕が死んだ方がいい。
でも、この前、とても大切に思う人から「長生きしてください」って、言ってもらえた。
今すぐ死んでもいいと思うほどうれしかった。だから、僕は、まだ死ねない。
そう、生きる「ちから」の、ある限り・・・
では、どうする?
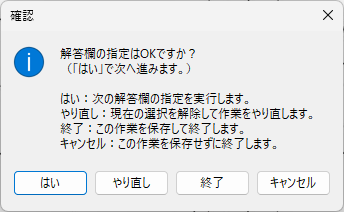
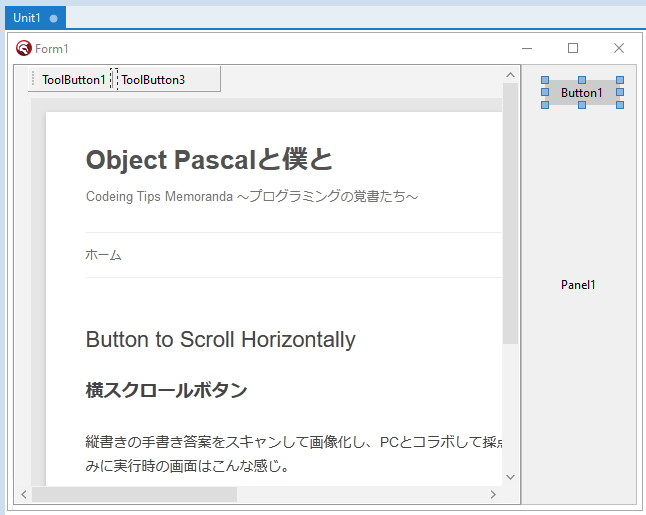
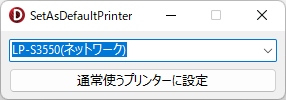
そうだ。プログラム起動時にPathをチェックするんだ・・・。
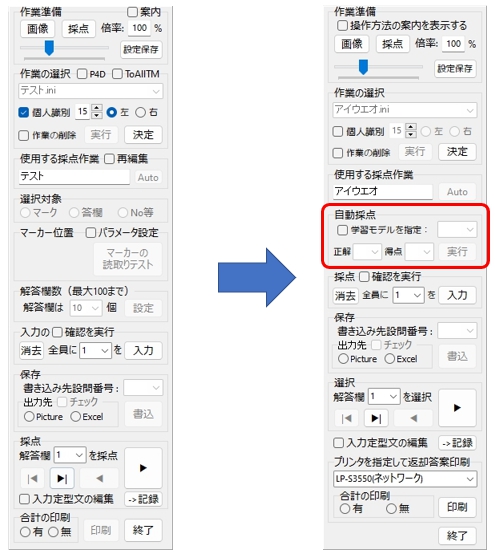
Pathをチェックして全角文字が含まれていないことを確認できたら、PythonEngineを初期化する。もし、Pathのどこかに全角文字があれば、メッセージを表示して「Pathから全角文字を取り除いてもらえるよう」ユーザーにお願いすればいい。
ひとに何かをお願いするのは、大嫌いだけれど・・・これだけは仕方ない。
もっとよくなって、TensorFlowの内部をなんとかできるようになるまでは・・・
5.全角文字を探し出すには?
文字列に含まれる全角文字を探すには、どうしたらいいか?
これまでの学びの中でByteType関数を使う方法を勉強済みだ。早速、僕はFormCreate手続きのいちばん最初に、Pathに全角文字が含まれているかどうか、確認するプログラムを追加した。
implementation
uses
System.AnsiStrings;
//System.AnsiStringsは、起動Path中の全角文字の有無を調査するために追加
procedure TFormCollaboration.FormCreate(Sender: TObject);
var
i,j:integer;
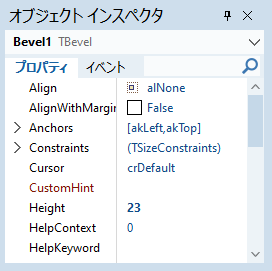
・・・ 略 ・・・
//引数に指定した文字列が半角か全角かチェックする
function OnlySingleByte(const S: AnsiString): Boolean;
var
i: Integer;
begin
for i:=1 to Length(S) do
//System.SysUtilsのByteType関数(非推奨)が呼び出される
//if ByteType(S, i) <> mbSingleByte then
//usesにSystem.AnsiStringsが必要
if System.AnsiStrings.ByteType(S, i) <> mbSingleByte then
begin
Result := False;
Exit;
end;
Result := True;
end;
begin
//起動Path中の全角文字の有無を調査
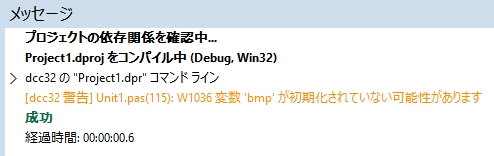
//[dcc64 警告]データ損失の可能性がある文字列の暗黙のキャスト ('string' から
//'AnsiString')を表示しないようにAnsiString()で明示的に型キャストした
if not OnlySingleByte(AnsiString(Application.ExeName)) then
begin
MessageDlg('AC_Reader.exeへのPath中に全角文字が含まれていないか、'+
'確認してください。'+
'全角文字が含まれているとPythonEngineの初期化作業を行うことができません。'+#13#10+#13#10+
'全角文字を含まないPathに変更後、再度実行してください。',mtError,[mbOk],0);
//プログラムの終了
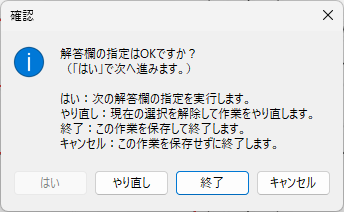
//Close; //止まらない!
Application.ShowMainForm:=False;
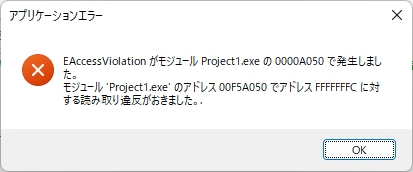
Application.Terminate; //停止するが、エラーが発生する
//halt; //停止するが、エラーが発生する
end else begin
//カーソルを待機状態にする
Screen.Cursor := crHourGlass;
・・・ 略 ・・・
end;
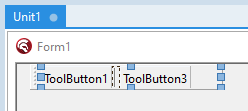
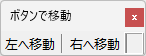
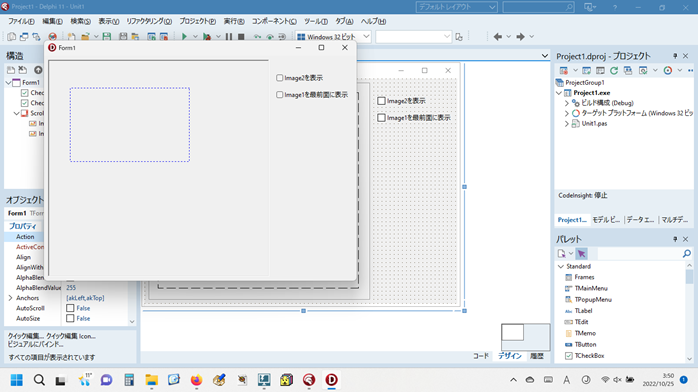
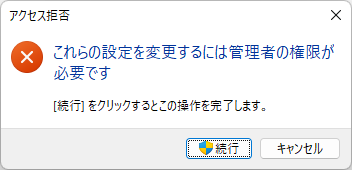
end;テスト用にReleaseフォルダの名前を変更する。

で、フォルダを開けて、exeを直接ダブルクリックして実行。

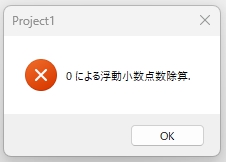
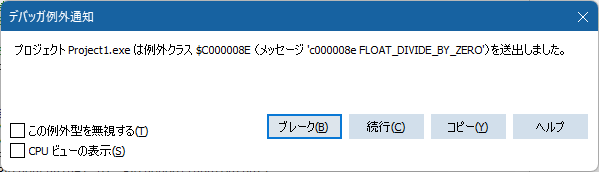
しかし、そのあとがよくない。Close命令では、なぜか止まらず、Application.Terminateやhaltではプログラムは停止するが、次のように実行違反のエラーが発生する。
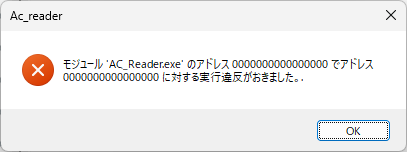
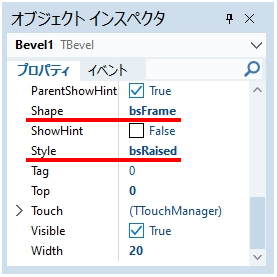
これには、ちょっと困った・・・。どう処理しようか、しばし考える。で、確か、エラーメッセージの表示を抑制する方法があったことを思い出す。階層化テキストエディターのNanaTreeに記録してある方法で、エラーメッセージの表示を代替するメッセージボックスを表示し、エラーメッセージの表示を出さないように設定すればいいと気づく。
重要! エラーの原因がわからないので、処理としては正しくないと思います!
NanaTreeに記録してあるTipsは、次のWebサイトにあった記事を参考にして作成したもの。このTipsを参照しながら、コードを次のように変更。
https://www.gesource.jp/weblog/?p=7116
private
//エラーメッセージを表示しない
procedure ExceptionEvent(Sender: TObject; E: Exception);
implementation
uses
System.AnsiStrings;
//System.AnsiStringsは、起動Path中の全角文字の有無を調査するために追加
procedure TFormCollaboration.ExceptionEvent(Sender: TObject; E: Exception);
begin
//ShowMessage('Event OnException: ' + E.Message); //<-このかわりに下を表示
MessageDlg('AC_Reader.exeへのPath中に全角文字が含まれていないか、確認してください。'+'全角文字が含まれているとPythonEngineの初期化作業を行うことができません。'+#13#10+#13#10+
'全角文字を含まないPathに変更後、再度実行してください。', mtError, [mbOk] , 0);
end;
procedure TFormCollaboration.FormCreate(Sender: TObject);
var
i,j:integer;
//半角か全角かチェックするプログラム
function OnlySingleByte(const S: AnsiString): Boolean;
var
i: Integer;
begin
for i:=1 to Length(S) do
//System.SysUtilsのByteType関数(非推奨)が呼び出される
//if ByteType(S, i) <> mbSingleByte then
//usesにSystem.AnsiStringsが必要
if System.AnsiStrings.ByteType(S, i) <> mbSingleByte then
begin
Result := False;
Exit;
end;
Result := True;
end;
begin
//エラーメッセージを示すダイアログの表示の制御
Application.OnException := ExceptionEvent;
//起動Path中の全角文字の有無を調査
//[dcc64 警告]データ損失の可能性がある文字列の暗黙のキャスト ('string' から 'AnsiString')を
//表示しないようにAnsiString()で明示的に型キャストした
if not OnlySingleByte(AnsiString(Application.ExeName)) then
begin
//ExceptionEvent手続きへ、そのままコピペ
{
MessageDlg('AC_Reader.exeへのPath中に全角文字が含まれていないか、確認してください。'+'全角文字が含まれているとPythonEngineの初期化作業を行うことができません。'+#13#10+#13#10+
'全角文字を含まないPathに変更後、再度実行してください。',mtError,[mbOk],0);
}
//プログラムの終了
Application.ShowMainForm:=False;
Application.Terminate;
end else begin
・・・ 略 ・・・
end;
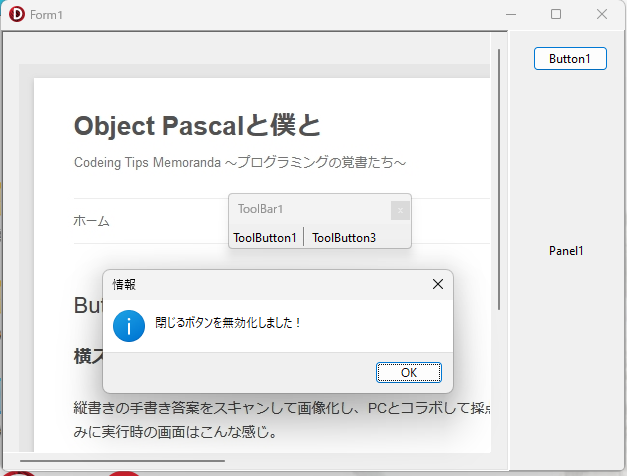
end;これでエラーメッセージは表示されなくなる・・・
6.まとめ
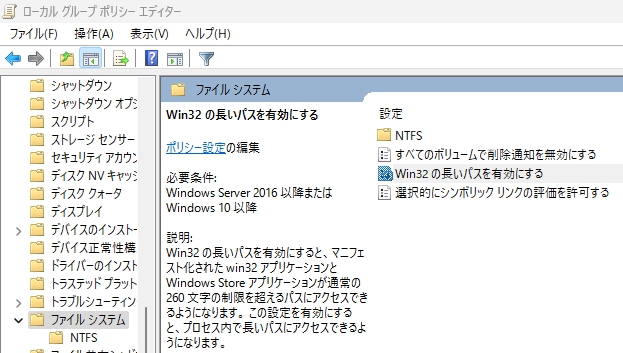
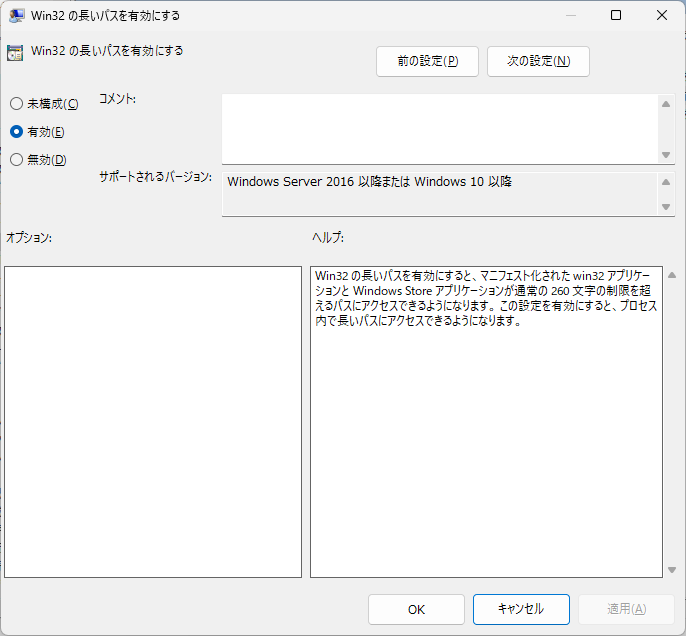
(1)TensorFlowを利用する際は、exeへのPathに全角文字があってはいけない。
(2)自力でエラーを回避できないので、Path中の全角文字の有無を調査して対応。
(3)エラーメッセージを表示しない方法も学んでおくと役に立つかも?
7.お願いとお断り
このサイトの内容を利用される場合は、自己責任でお願いします。ここに記載した内容を利用した結果、利用者および第三者に損害が発生したとしても、このサイトの管理者は一切責任を負えません。予め、ご了承ください。